Xray quick start
The Xray module in the BeAdmin panel runs your own VPN on the server using the VLESS protocol — a lightweight, fast, and censorship-resistant transport. You pick the country of the server and manage the user list yourself, without depending on third-party VPN providers.
This article walks through the minimum scenario: install the module, create the first user, and connect a client device to it.
ℹ️ Note
A VPN server of your own beats commercial services: bandwidth is not shared with hundreds of clients, and the traffic looks like regular user traffic.
⚠️ ISP restrictions
Traffic encryption makes a VPN a reliable way to protect a connection, but in some countries and regions internet providers actively interfere with VPN protocols. Because of this, full availability of the service cannot be guaranteed — regardless of the connection type. If one protocol does not work for you, try another VPN module available in the panel. If none of them work on your network, contact support and we will issue a refund for the license.
Install the module
In the panel side menu, open "VPN" → "Xray" and click "Install". The module has no setup wizard — every technical parameter is generated by the panel itself. Installation takes a few minutes; you can follow the progress in the task log.
Once it finishes, the panel automatically opens the "Users" page — that is the main screen of the module.
💡 Hint
If installation fails, try running it again.
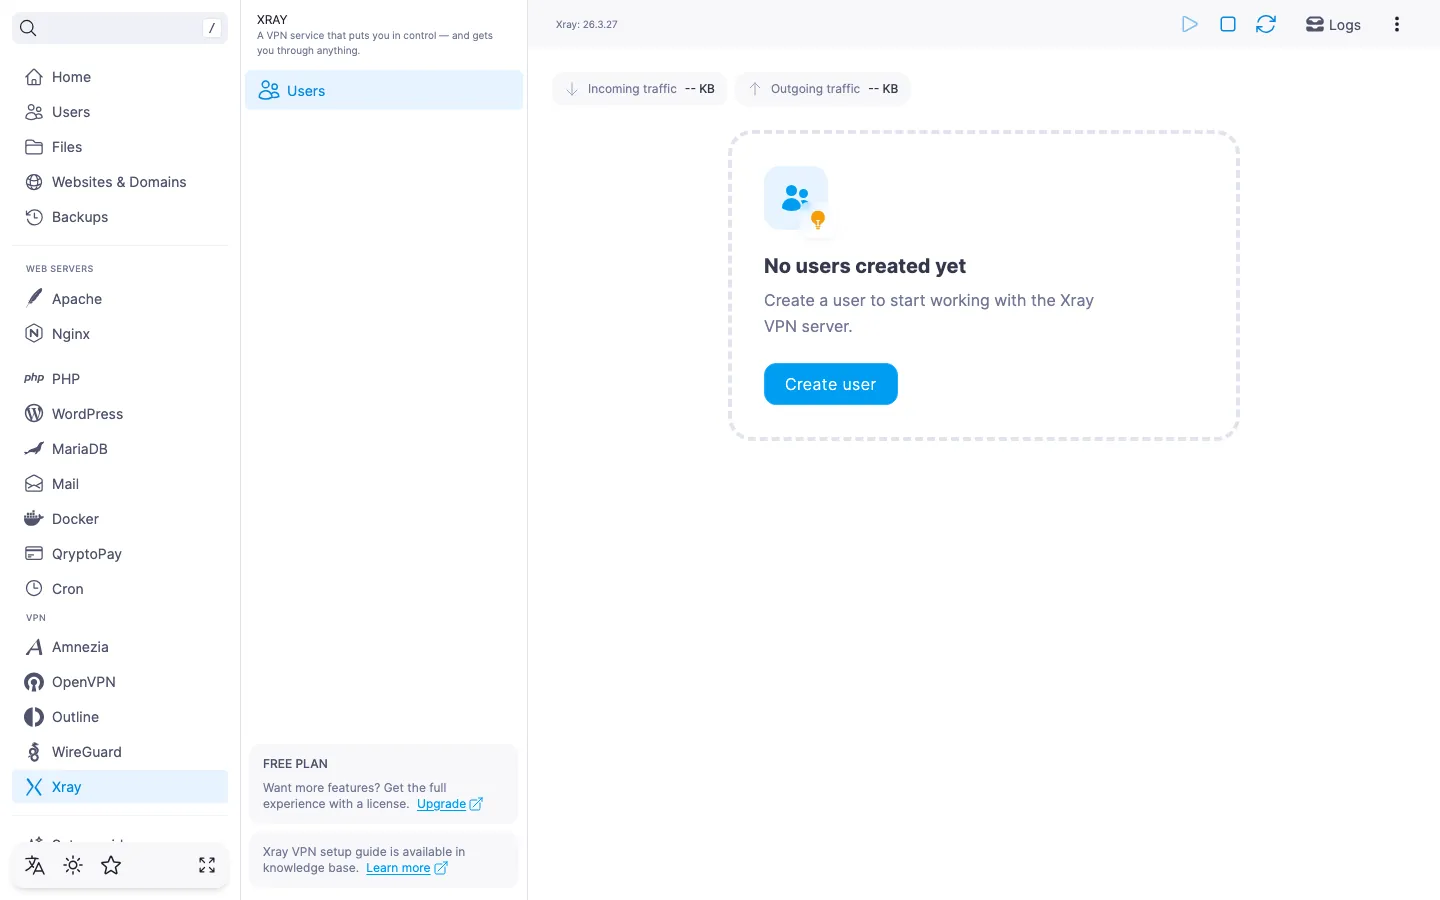
Create the first user
An Xray user is a separate account with its own identifier and connection link. We recommend creating a separate user for each device that will connect.
ℹ️ Free-plan limit
The free plan includes one Xray user — that lets you try the module out and see whether this kind of VPN fits you. When you need more, get extra slots. See Xray. Managing users for details.
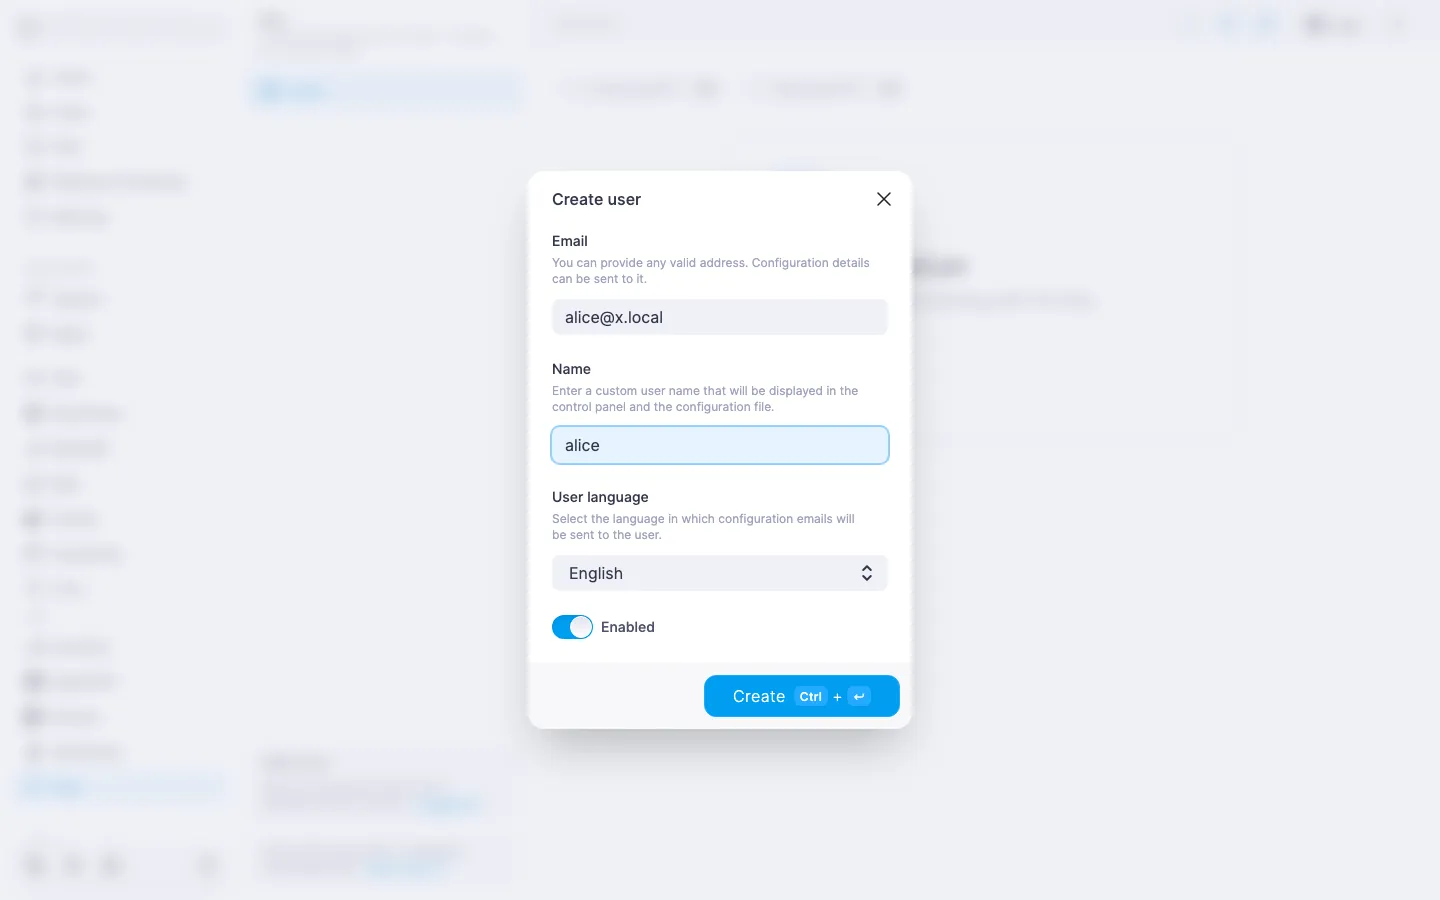
- On the "Users" page, click "Create user".
- Fill in the fields:
- "Email" — an email address. Used as the unique identifier of the user. You can enter either a real address (so the connection link can be sent to it) or any internal one — the only requirement is that each user has a unique address.
- "Name" — an arbitrary label of 2 to 64 characters: for example, "Anna's iPhone" or "work laptop". Helps you find users in the list.
- "User language" — language of the email with the connection link. Defaults to English.
- "Enabled" — by default the user is created enabled and can connect right away. If you don't want to activate the account immediately — for example, you're setting it up in reserve — turn off the toggle.
- Click "Create".
The user appears in the list. If you enter an email that already belongs to another user, the panel highlights the error under the field and blocks saving.
Connect a client device
To connect to the VPN, you need an Xray-compatible client. Suitable apps include:
- Hiddify / Streisand — Android, iOS
- v2box — iOS, macOS
- v2rayN — Windows
- NapsternetV — Android
Install a suitable app on the device that will route traffic through the VPN. Next, grab the connection link from the panel.
- In the user row, click "Settings".
- The "Connection settings" dialog shows a connection link of the form
vless://...(with a copy button) and a QR code with the same link.
Transfer the link or the QR code into the client app: most clients can scan the QR code with the device camera or accept the link from the clipboard. Once the configuration is added, start the VPN in the app — on iOS the system may ask permission to install a VPN profile, confirm it.
To verify that the VPN works, open any IP-check page in the browser, for example myip.com. If everything is set up correctly, the page shows the country of your server.
Send the configuration by email
If SMTP is configured in the panel, the connection link can be emailed to the user — handy when you do not have the device on hand.
In the "Connection settings" dialog, click "Send to email"; the same button is also available in the user row in the list. The link is sent to the address entered when creating the user.
ℹ️ When SMTP is not configured
The send-to-email button is disabled, and the module page header shows an "Email sending not configured" banner with a link to the SMTP settings. See How to set up an SMTP relay for sending emails for details.
What's next
For service management, updates, and uninstalling the module, see Xray. Managing the module. For creating more users, editing and deleting them, and buying extra slots, see Xray. Managing users.