Docker. Managing containers
On the "Containers" tab of the Docker module, you can create containers from pulled images and manage their lifecycle: start, stop, pause, unpause, and restart them, as well as rename and delete them — right from the panel UI.
This article is a follow-up to Docker quick start. If Docker isn't installed on the server yet, or no image has been pulled, start there. This page goes deeper into creating a container, all lifecycle actions, and renaming and deleting with additional options.
Create a container
On the "Containers" tab, click "Create container". The panel opens a dialog with the following fields:
- "Name" — from 2 to 63 characters: Latin letters, digits, and the symbols
_,.,-. If left empty, the name is assigned automatically. - "Image" — pick one of the pulled images. If the image you need isn't in the list, the button next to the field opens the image pull dialog without leaving the container creation form. Until an image is selected, the "Create" button stays disabled.
- "Working directory" — the path inside the container where commands run by default, for example
/app. - "Restart policy" — Docker behavior when the container stops: "Do not restart", "Always restart", or "Restart unless stopped".
- "Remove after exit" — enable this if the container is one-off and shouldn't stay in the list after it stops.
- "Command" — what to run when the container starts. If left empty, the command from the image is used.
- "Entrypoint" — overrides the image's entrypoint; set this if a custom startup logic is needed.
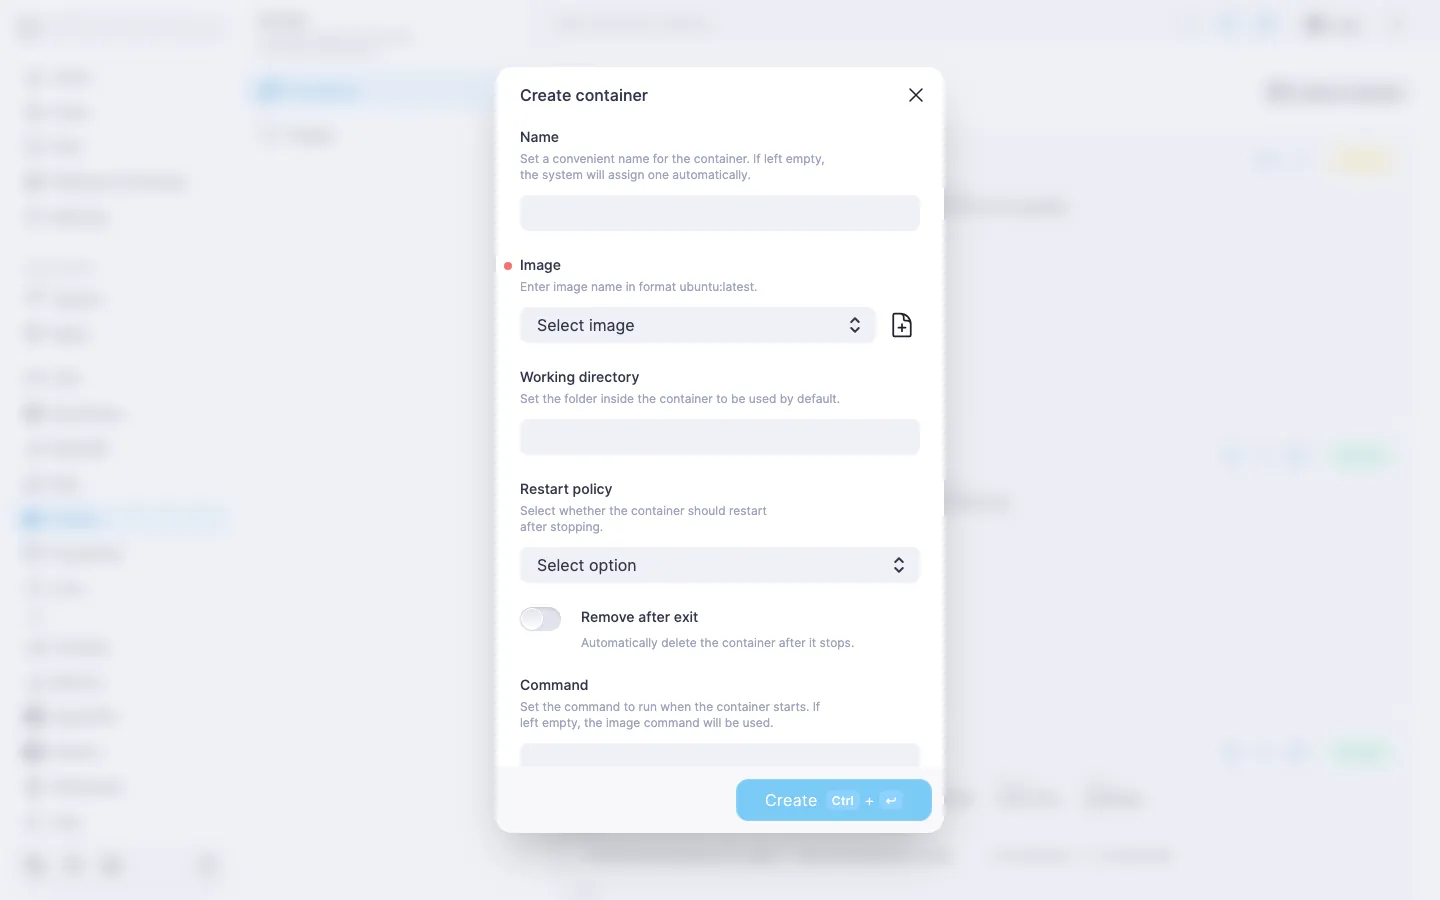
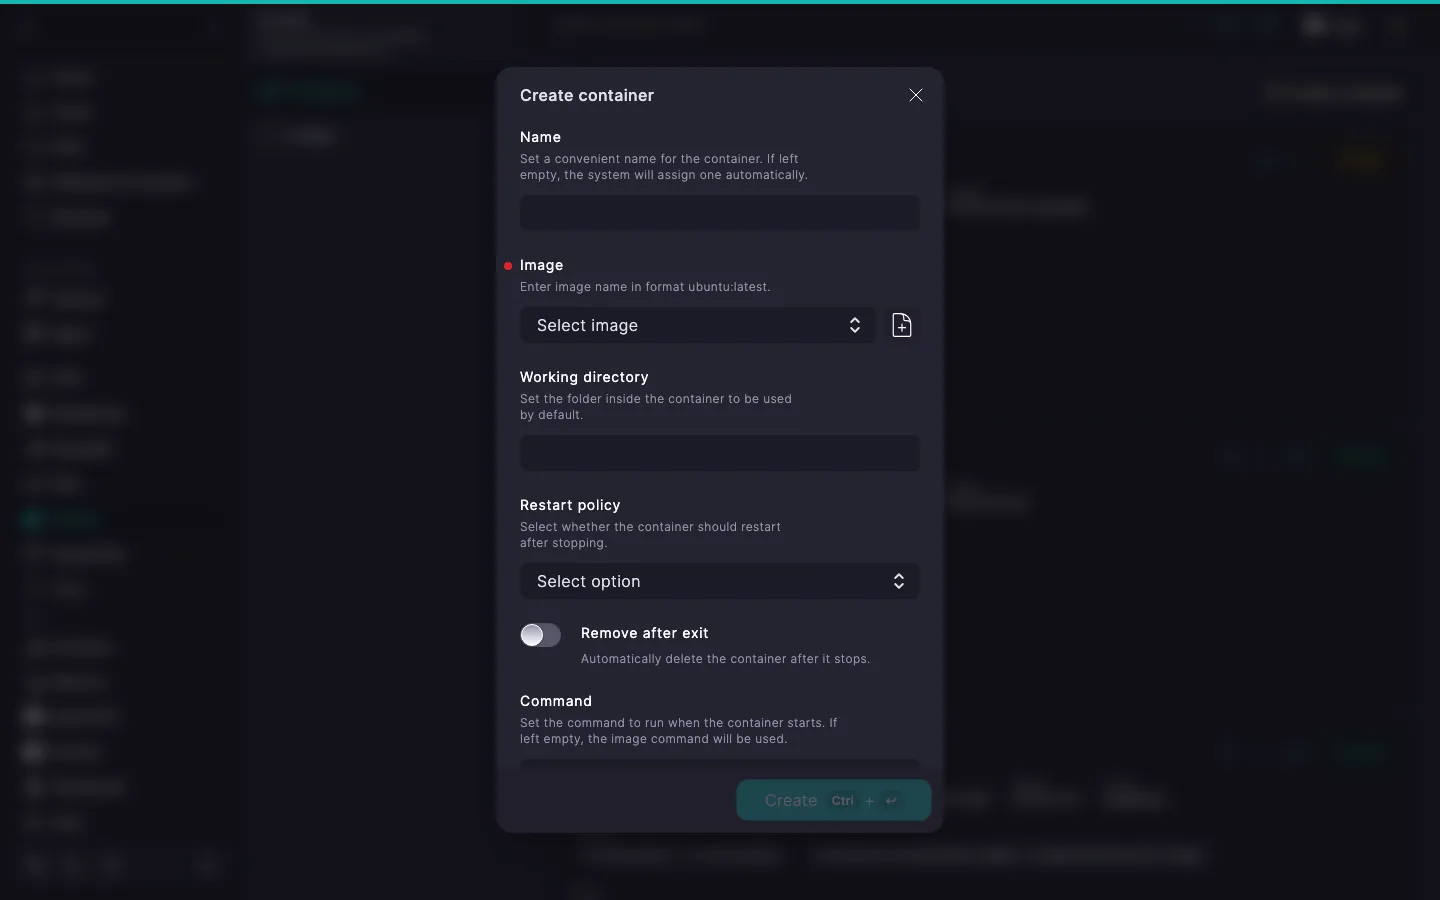
Click "Create" — the container will appear in the list on the "Containers" tab.
States and the container card
The container card in the list shows its state, ID, image, creation date, and — if the container has run before — mount points, ports, and connected networks.
The main states are "Created", "Running", "Exited", and "Paused". Besides these, a transient state may briefly appear — "Restarting", "Removing", or "Dead" — it doesn't require any action and changes automatically.
You can move a container between states using the buttons on its card. The set of buttons depends on the current state:
| Button | Action | Available when |
|---|---|---|
| "Start" | starts the container | the container is created or exited |
| "Stop" | stops the container | the container is running |
| "Pause" | freezes the container's processes without stopping it | the container is running |
| "Unpause" | takes the container off pause | the container is paused |
| "Restart" | stops and immediately starts the container again | the container is running |
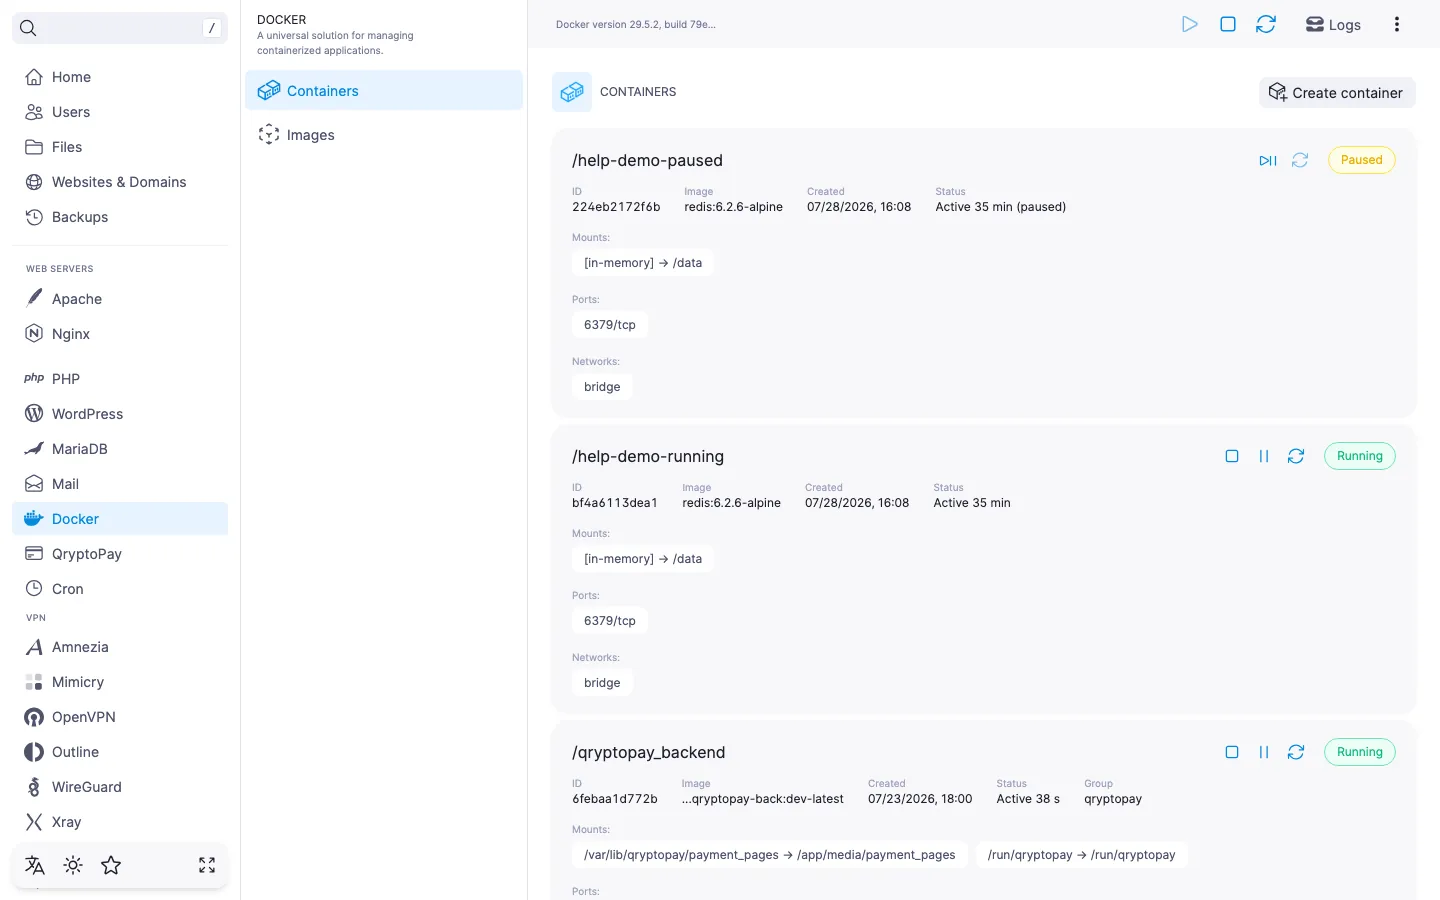
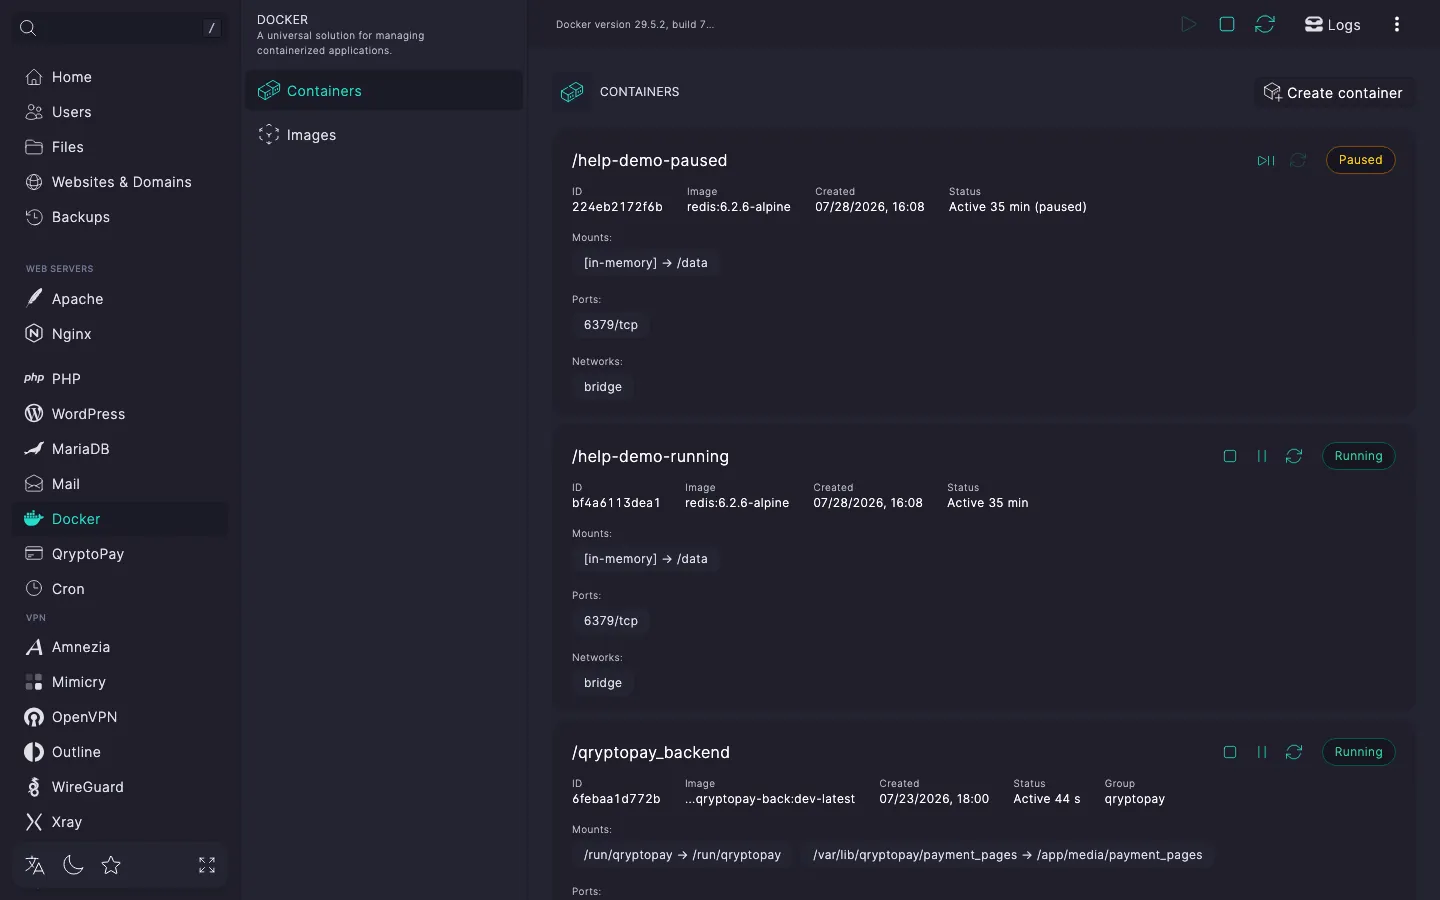
Rename a container
On the container card, hover over it and click the "Rename" icon — the panel opens the "Rename container" dialog with the current name in the "Name" field. Enter a new name and click "Update"; the button becomes active only once the name has changed and meets the same constraints as at creation.
Delete a container
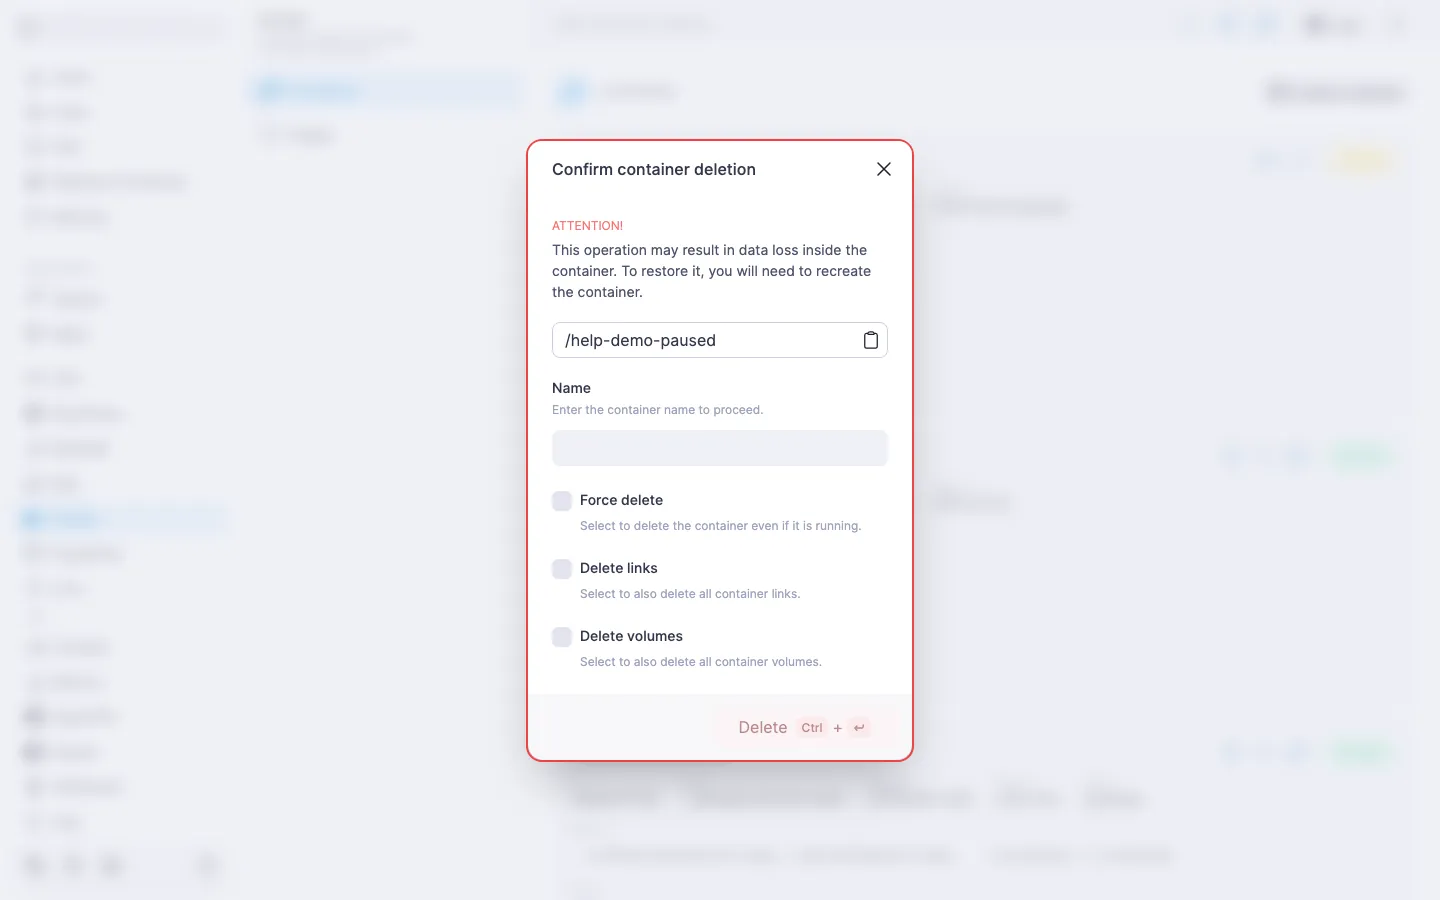
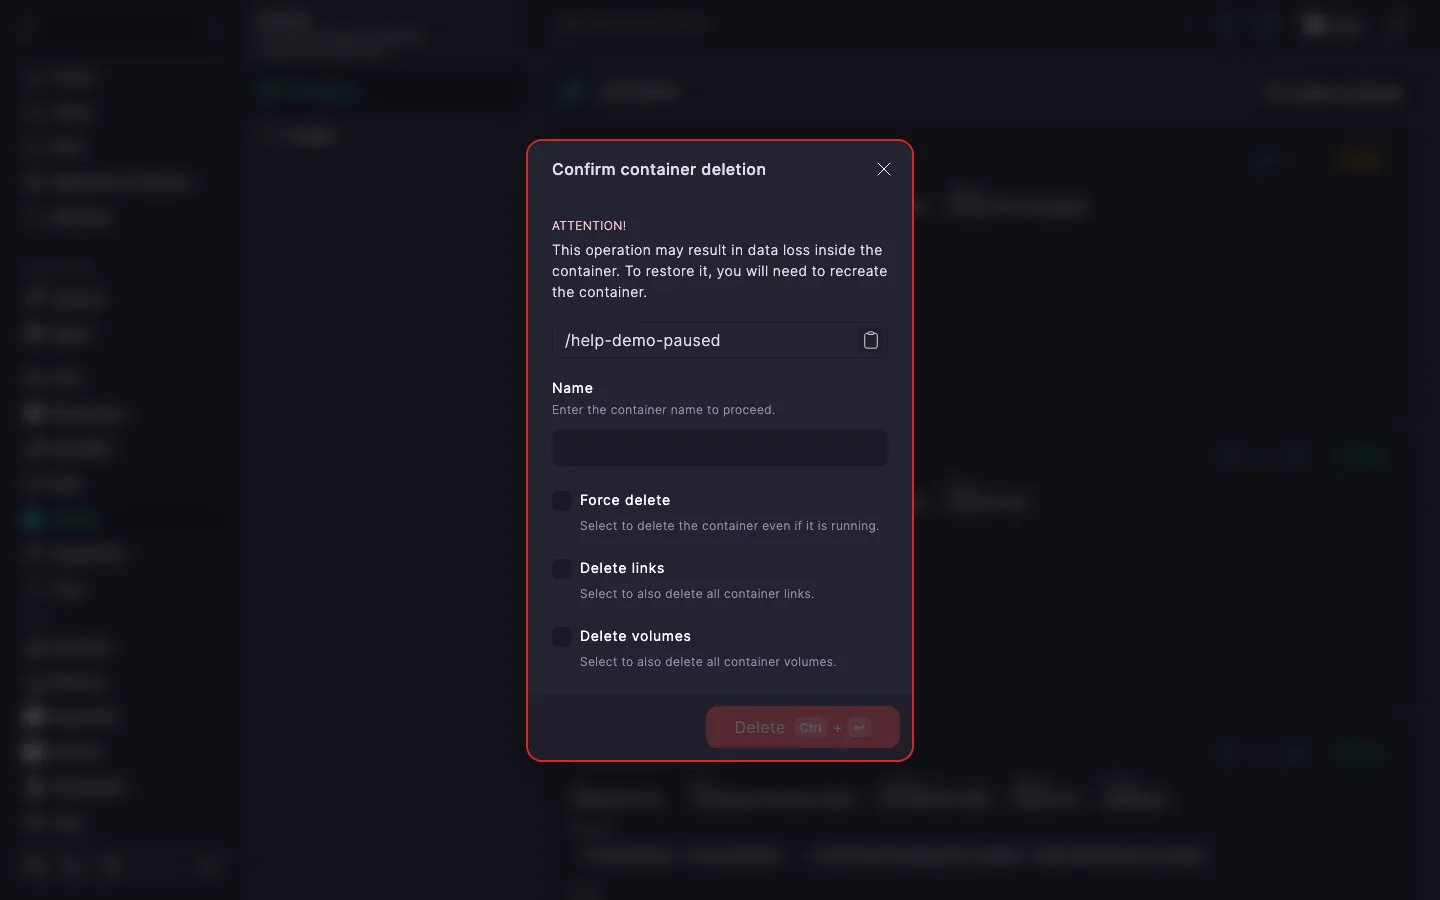
The "Delete" icon next to the rename icon opens the "Confirm container deletion" dialog. To confirm deletion, enter the exact container name in the "Name" field — the "Delete" button becomes active only when it matches.
By default, only a stopped container can be deleted. The dialog has these checkboxes:
- "Force delete" — deletes the container even if it's running.
- "Delete links" — deletes all the container's links to other containers along with it.
- "Delete volumes" — deletes all volumes associated with the container along with it.
⚠️ What happens to the data on deletion
Data inside the container itself is lost permanently — the only way to restore it is to recreate the container from the same image. The image and any volumes not marked with the "Delete volumes" checkbox stay on the server.