Mimicry. Managing users
This article covers operations on the VPN user list: how the list is organised, how to get a configuration for connecting, edit a user, temporarily disable or delete it, and purchase slots beyond the free quota. The minimum "install the module and connect the first device" scenario is described in Mimicry quick start; here we go into more detail.
The user list
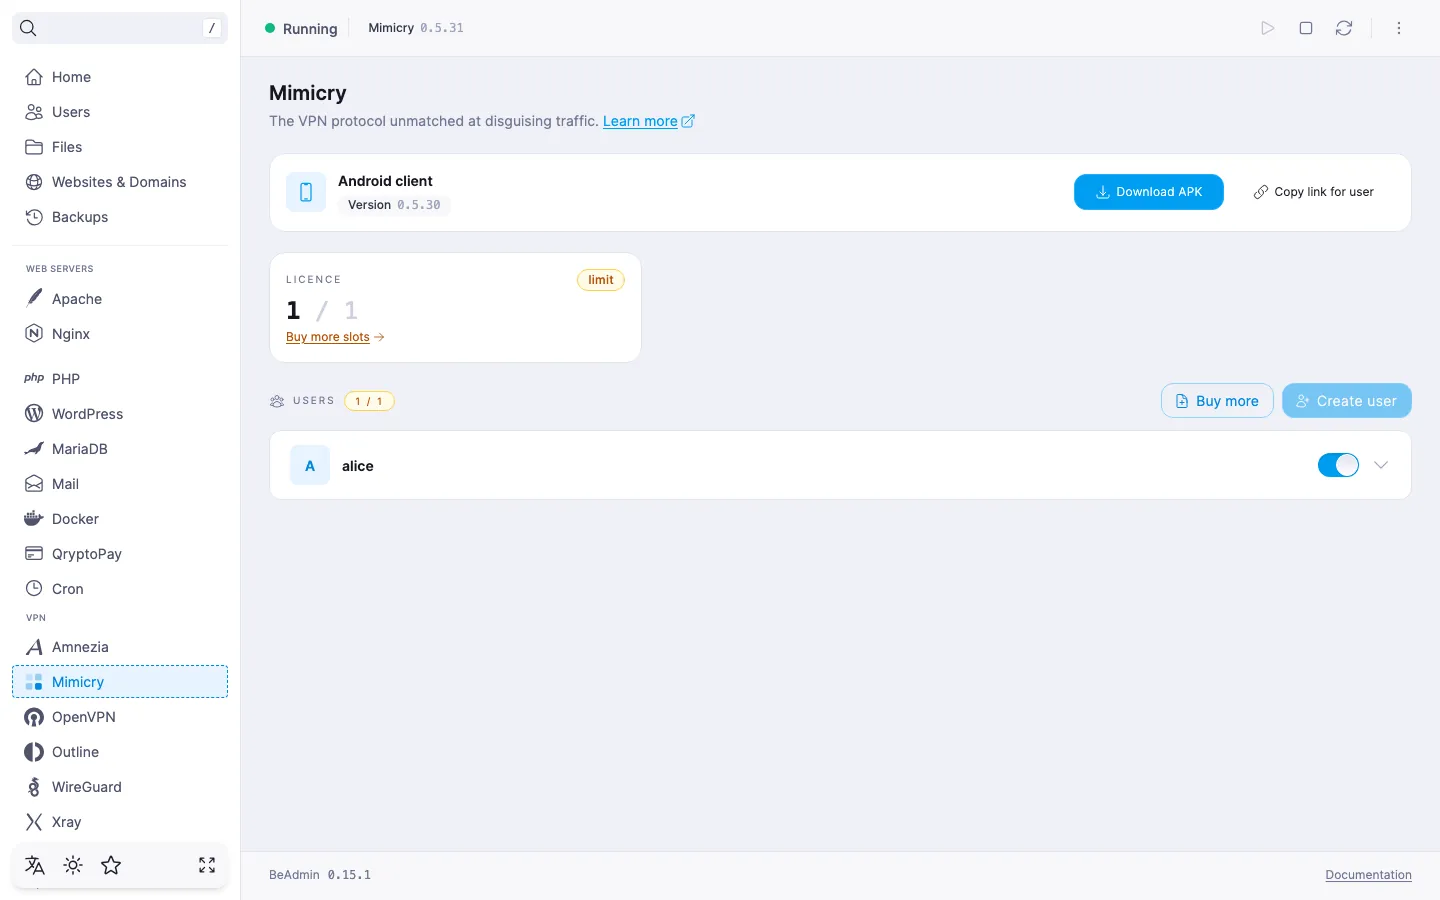
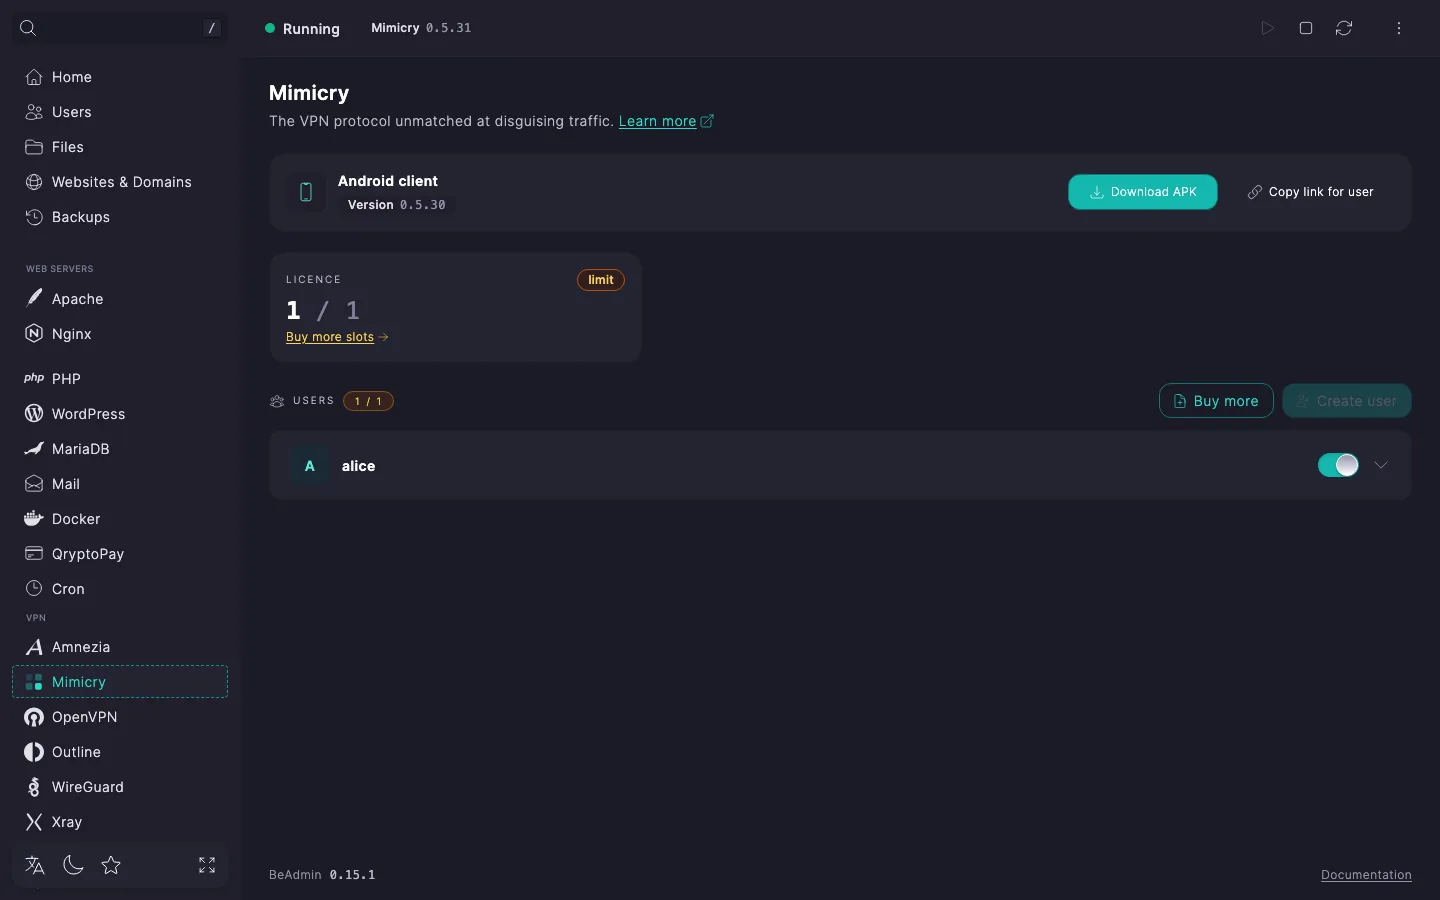
The list opens on the Mimicry module page by default and contains every created user with its current state. Above the list, the number of free licence slots remaining is shown — it tells you whether there is room for a new user. A user is created with the Create user button; at the limit the button becomes inactive, and a tooltip explains why. Details on the limit and slots — in the User limit section.
Each user is an accordion row. In its collapsed form, it shows the name (or the identifier if no name is set), optionally the email address, and an Enabled toggle for temporary deactivation. Per-user actions — issuing a configuration, sending it by email, editing, and deletion — appear when the row is expanded: click the row to expand it.
When there are no users yet
Right after install the list is empty: the panel shows an It is empty here card with a prompt to create the first user and a Create user button. Once the first user is created the card disappears, and the usual list takes its place.
Expanded user row
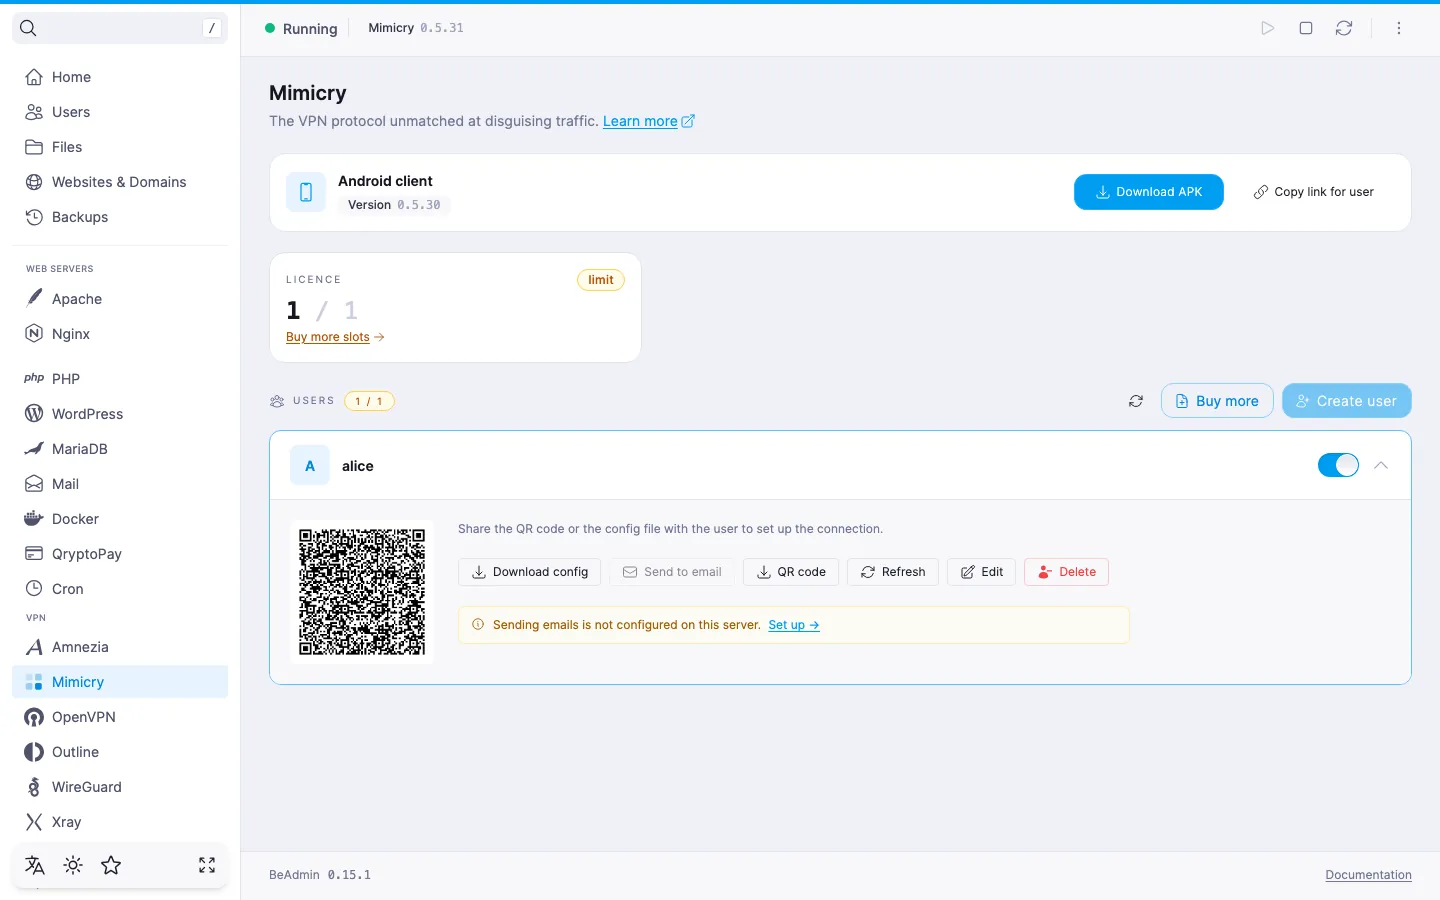
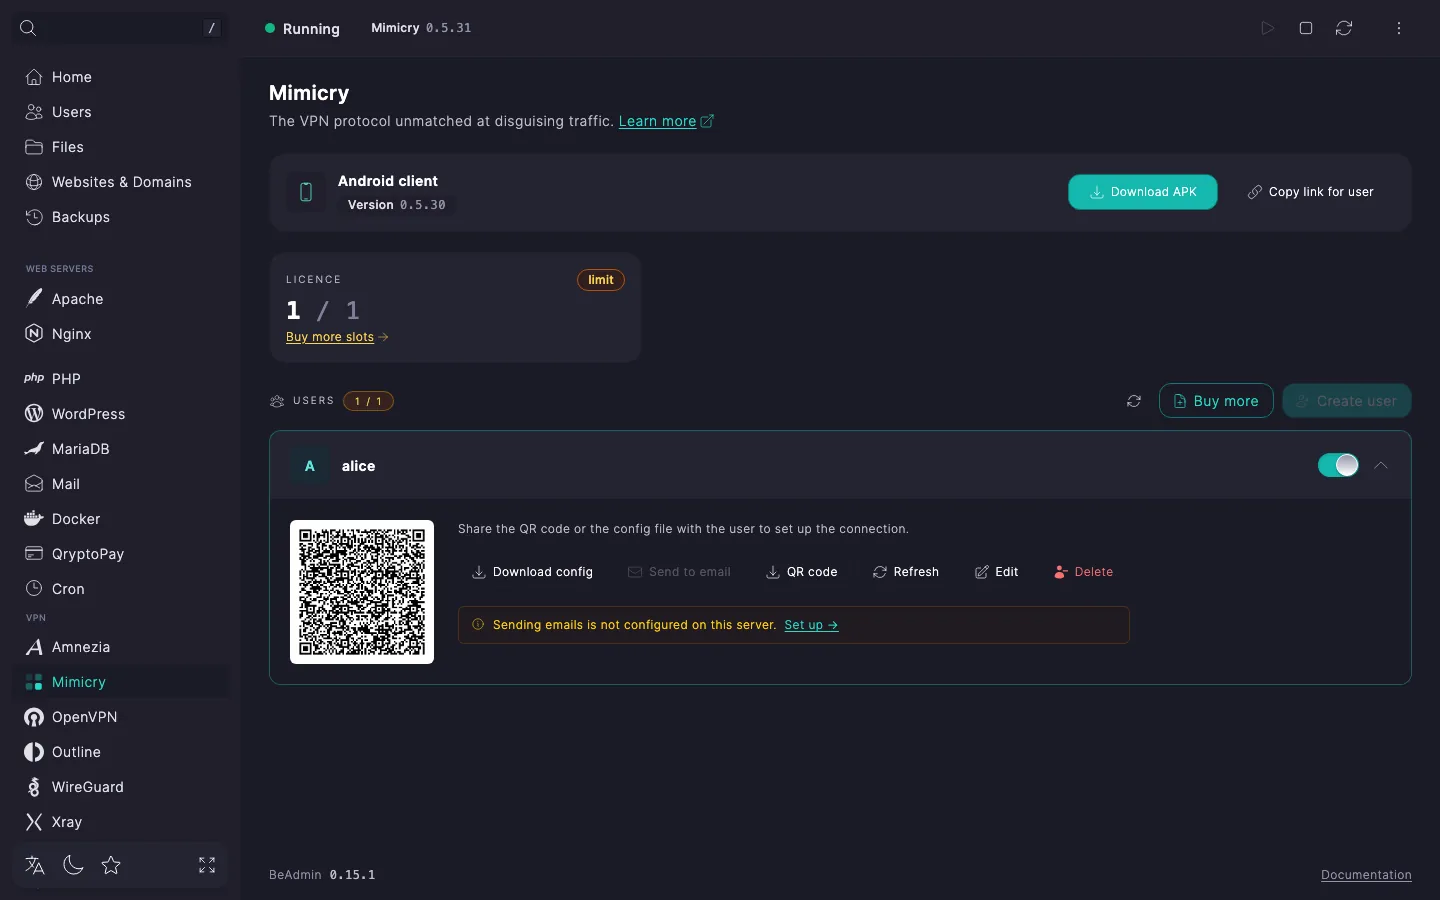
The expanded row is where the user gets a configuration for the device: a QR code, downloading the configuration file, sending it by email, refreshing it, and also editing and deleting the user.
QR code and configuration file
Right under the avatar, the row shows a QR code. Mimicry uses a single configuration format across its client apps, so unlike Amnezia or WireGuard there is only one file and QR code to hand out, not several — see Mimicry client apps for the Android, Windows, and Apple apps it works with. Show the user the QR code on the screen so it can be scanned straight from the Mimicry app, or save the image with the QR code button and send it however you like.
The Download config button saves the same configuration as a file — the file name matches the user's identifier. Open it with the Mimicry app to add the connection automatically.
Refresh
The Refresh button re‑fetches the configuration from the server. It doesn't rotate keys — the same connection parameters come back — so use it if you suspect the copy cached in the panel is stale, not to revoke or renew access.
Sending by email
The Send to email button sends the configuration file to the address from the user's card. It is available when SMTP is configured in the panel and the user has an email address. Otherwise the button is inactive — the tooltip says exactly what is missing: SMTP is not configured or the address is empty.
Editing and deletion
The Edit button opens the dialog with the user's settings (details in the Editing a user section). The Delete button starts deletion — details in the Deleting a user section.
Email and comment tiles
Below the buttons there are tiles with the user's identifier, name, email, and comment (when they are filled in). The fields themselves are edited in the Edit user dialog.
When SMTP is not configured
When SMTP is off, the expanded row shows a note that email sending is not configured on the server, with a link to the panel's system settings, where the SMTP relay is enabled. Until the relay is configured, the Send to email button stays inactive; downloading the configuration and the QR code work regardless. Details on configuring the relay — in How to set up an SMTP relay for sending email.
Creating a user
The minimum scenario is described in Mimicry quick start: open the dialog with the Create user button in the list header and fill in the Identifier, Name, Email, Comment, User language fields; the Enabled toggle in the footer controls the user's state right after creation. The Create button is active as long as the form has no validation errors and there is a free slot in the licence (see User limit).
⚠️ ISP restrictions
Traffic encryption makes a VPN a reliable way to protect a connection, but in some countries and regions internet providers actively interfere with VPN protocols. Because of this, full availability of the service cannot be guaranteed — regardless of the connection type. If one protocol does not work for you, try another VPN module available in the panel. If none of them work on your network, contact support and we will issue a refund for the license.
Editing a user
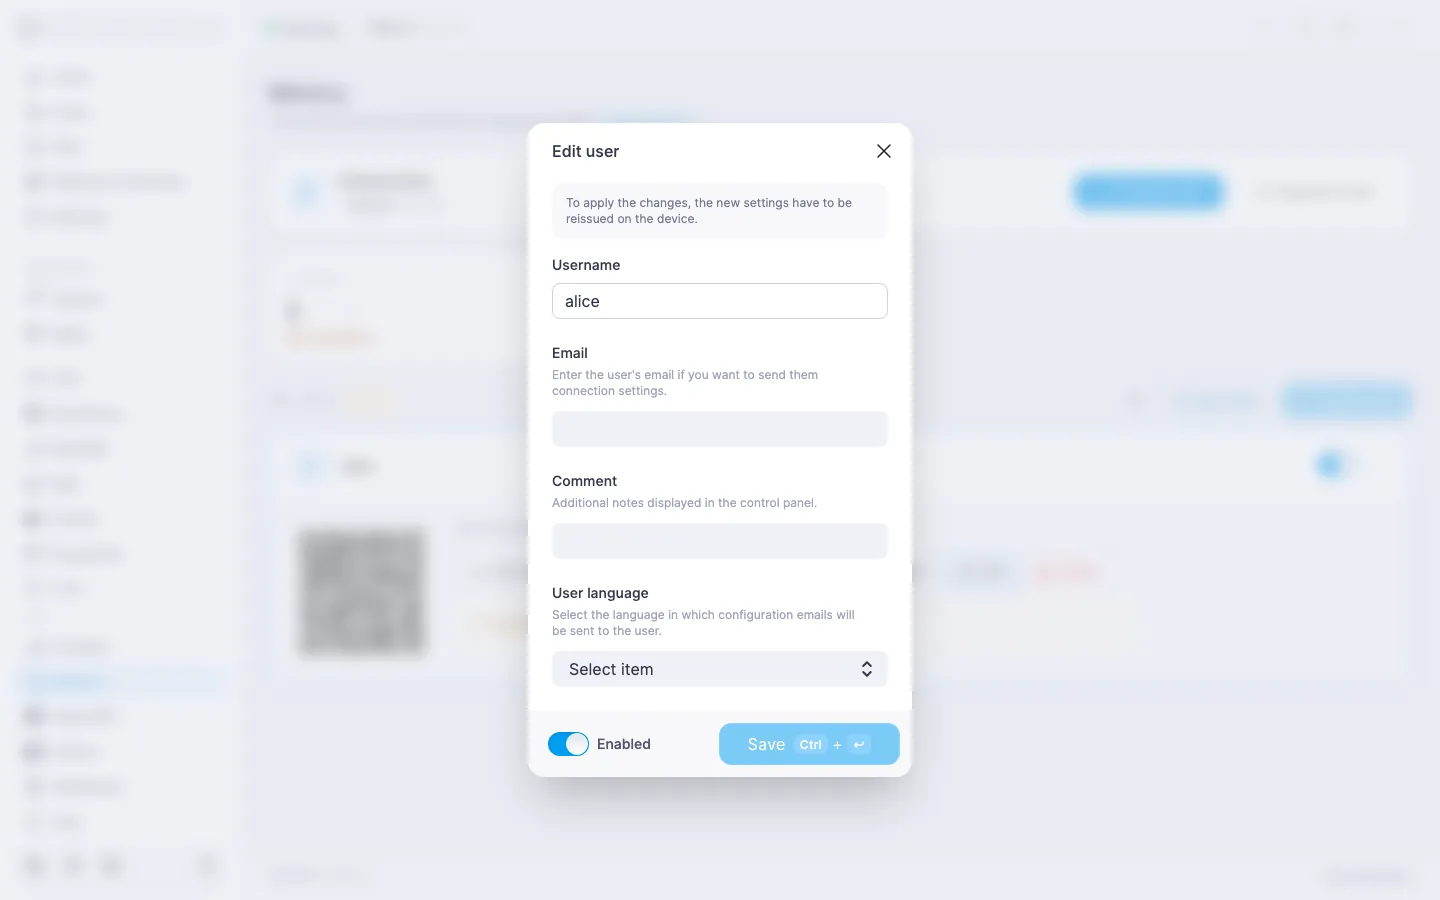
In the expanded row click Edit — the Edit user dialog opens with a reminder that after saving you will need to reissue the new settings to the client device: the old configuration in the app keeps working with the old parameters until it is reloaded.
The dialog lets you change:
- Name, Email, and Comment — edited under the same rules as on creation. To clear a value, leave the field empty and save: the panel will wipe it on the server.
- User language — the language of the configuration email. Default — English.
- Enabled — lets you temporarily disable the account without deleting it.
Identifier is shown in this dialog but can't be edited — it never changes after creation. The Save button is active only when something in the form has changed compared to the current state.
Enabling and disabling a user
There is a toggle in the user row — one tap enables or disables the account without opening a dialog. A disabled user stays in the list, but cannot connect with its configuration. The change is applied right away — no service restart is required.
When re‑enabled, the keys are not reissued: the same configuration already saved in the client app works again.
Deleting a user
In the expanded row click Delete. The panel asks you to confirm the action in the Delete user dialog, with a note that active connections will be dropped and a new configuration will be needed to reconnect. After confirmation the licence slot is freed — another user can be created in its place.
‼️ Deleting a user is irreversible
After confirmation the account is deleted and its key material is lost forever. The configuration already imported into the client app stops working. There is no way to restore the user "as it was" — even a new one with the same identifier gets different keys, and the client will have to import a new configuration.
User limit
ℹ️ The free licence allows one user
On the default plan the Mimicry module lets you create one VPN user — enough for a single device, for example a personal phone. For several devices or family members, you'll need to purchase additional slots.
What changes at different quota usage levels:
- Within the quota (
N < M) — create new users freely. - Limit reached (
N = M) — no new users can be created. To go further — buy slots via the Buy more slots link right in the tile, or delete the users you no longer need. - Over the limit (
N > M, for example after a plan downgrade) — the most recently created users are flagged "Slot needed" in the list. Buy more slots or delete the excess users to clear the flag.
The Buy more slots link goes to the Licence section — to issuing a new licence if you don't have one yet, or to changing the existing one with the slot count pre-filled. The licence stacks with the free quota: if the licence specifies, say, 5 slots, you will have 6 users in total (1 free + 5 from the licence). In the Licence section this capability is shown under the human-readable label Mimicry.
What's next
- Mimicry quick start — installing the module and the first connection.
- Mimicry client apps — Android, Windows, and Apple apps, and supported Windows versions.
- Mimicry. Managing the module — managing the service, module settings, updating, and uninstalling.
- How to set up an SMTP relay for sending email — so you can email users their configuration.