AI agents quick start
The AI agents module in the BeAdmin panel creates isolated workspaces for working with AI on your server. Each workspace has its own user with SSH access and a persistent tmux session: if you close the terminal or shut down your laptop, the session and the tasks running in it keep going, and the next time you connect you return to the same place. An AI coding agent is installed on top — for example, Claude Code by Anthropic.
This article describes the minimum scenario: how to install the module and Claude Code as an AI provider, how to add an API key and your own SSH key, how to connect to a workspace, and how to start the agent.
Without a licence you get one workspace and one AI provider — enough to try the module. The agent runs under your own API key, and token spend is billed by the provider: the panel neither sees nor limits it.
What you need
- A server with
BeAdminand at least 4 GB of RAM. On a server with less memory the module will not be installed, because it could not run stably, so check the amount of RAM before installing. - An Anthropic API key. You can issue one in your account at platform.claude.com.
- A computer with an SSH client: a terminal on Linux and macOS, PowerShell or WSL on Windows. If you have never connected to a server over SSH, start with How to connect to a server via SSH.
Installing the module
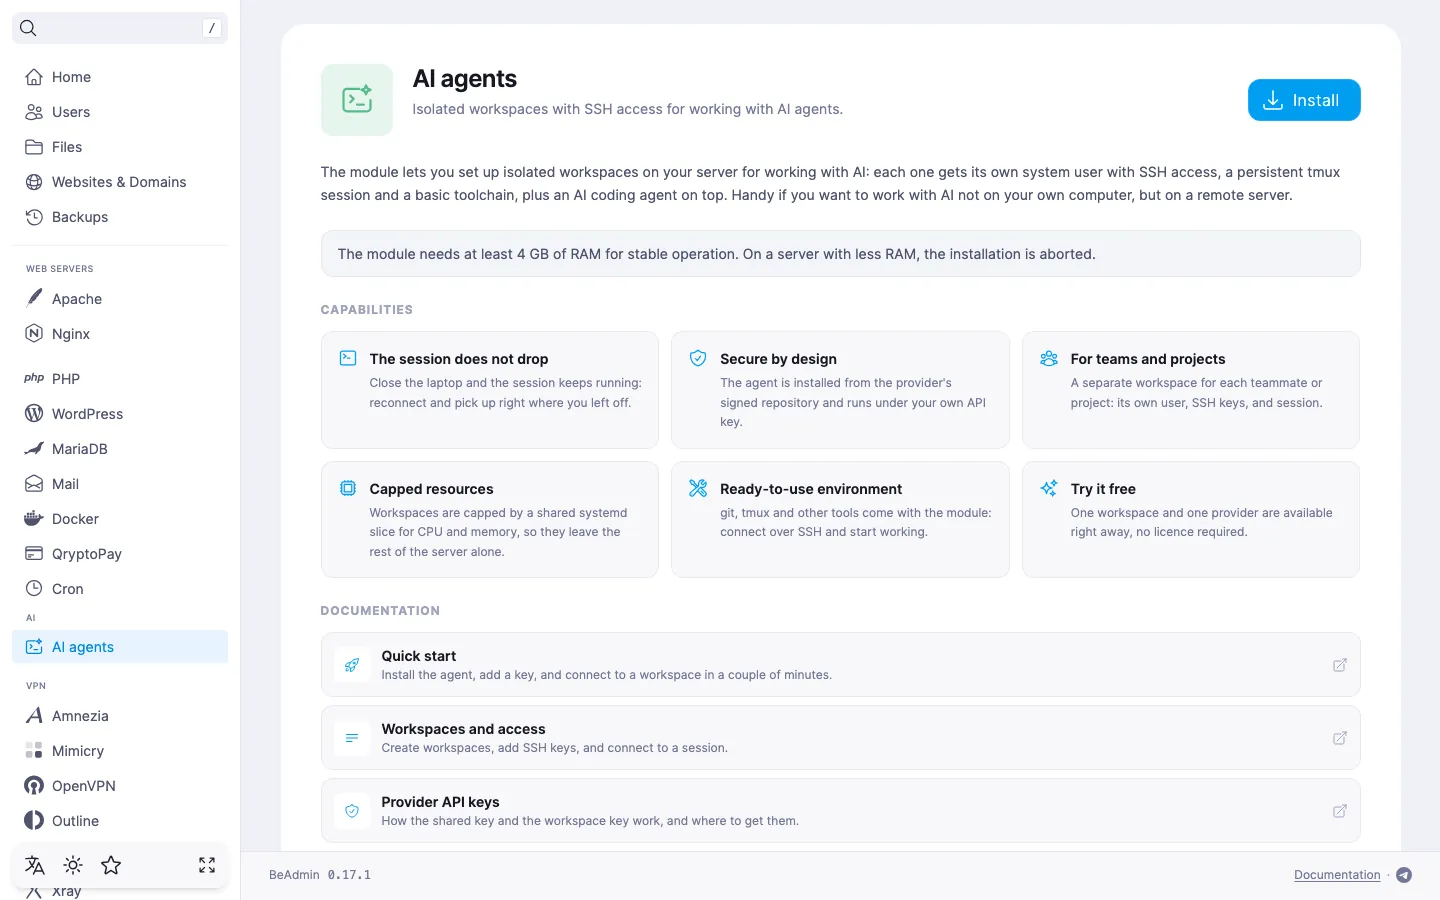
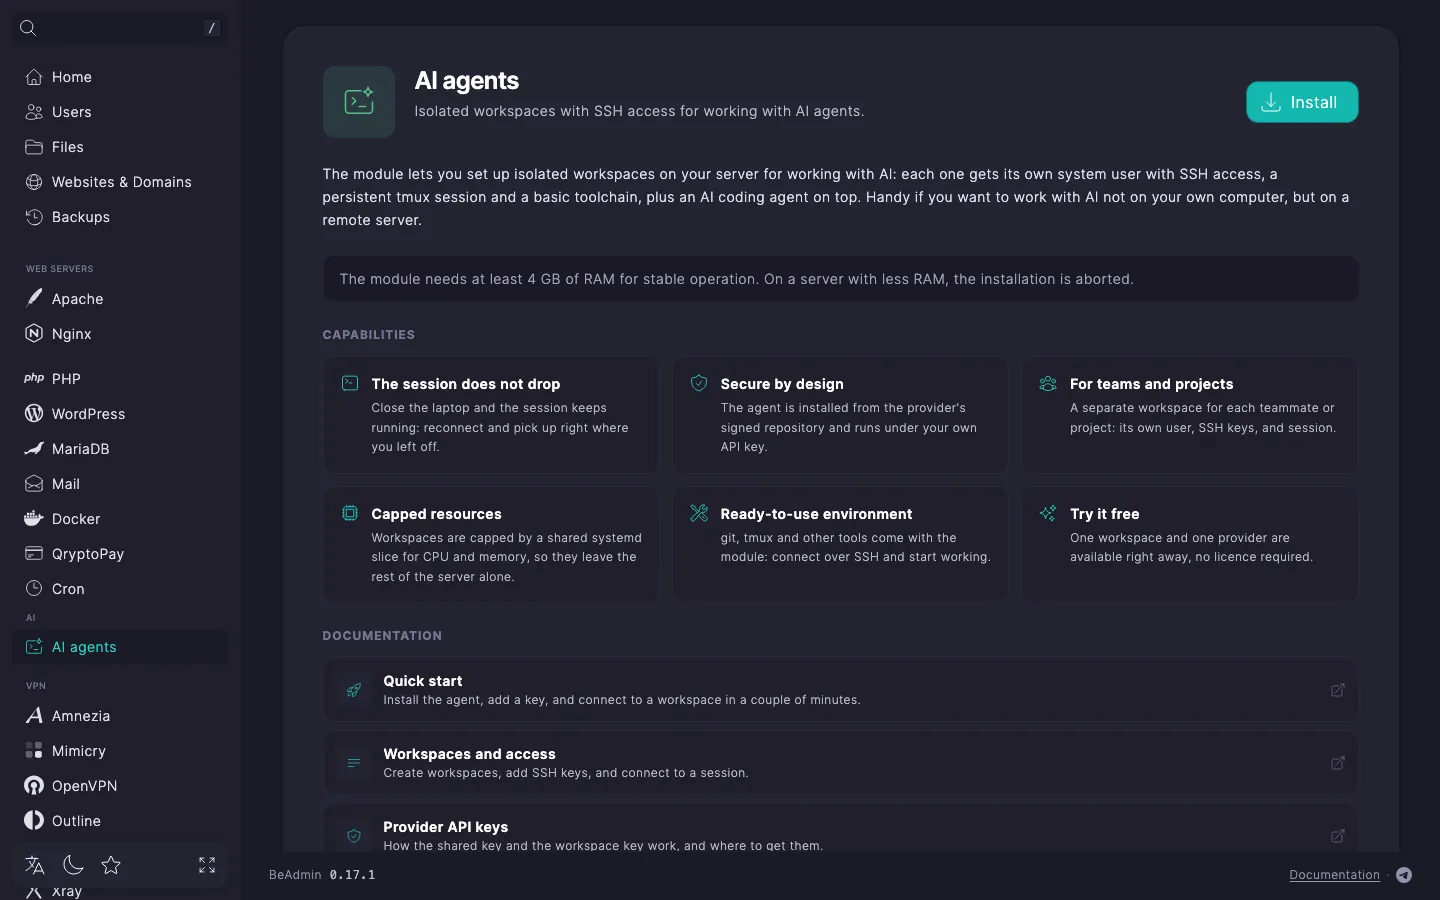
In the panel's side menu open AI agents and click Install. You can follow the installation progress via the Log button.
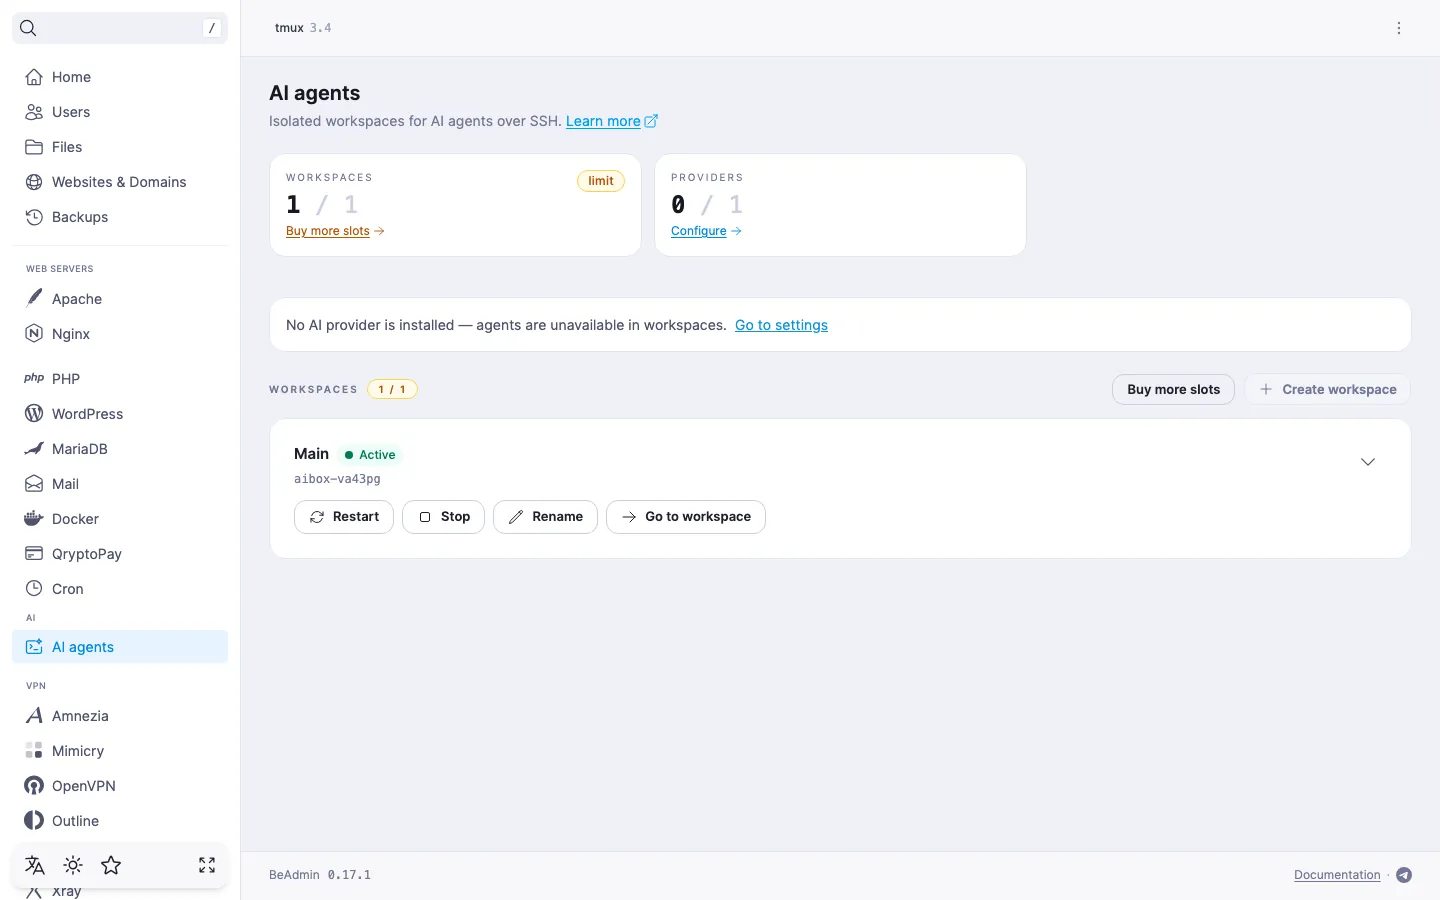
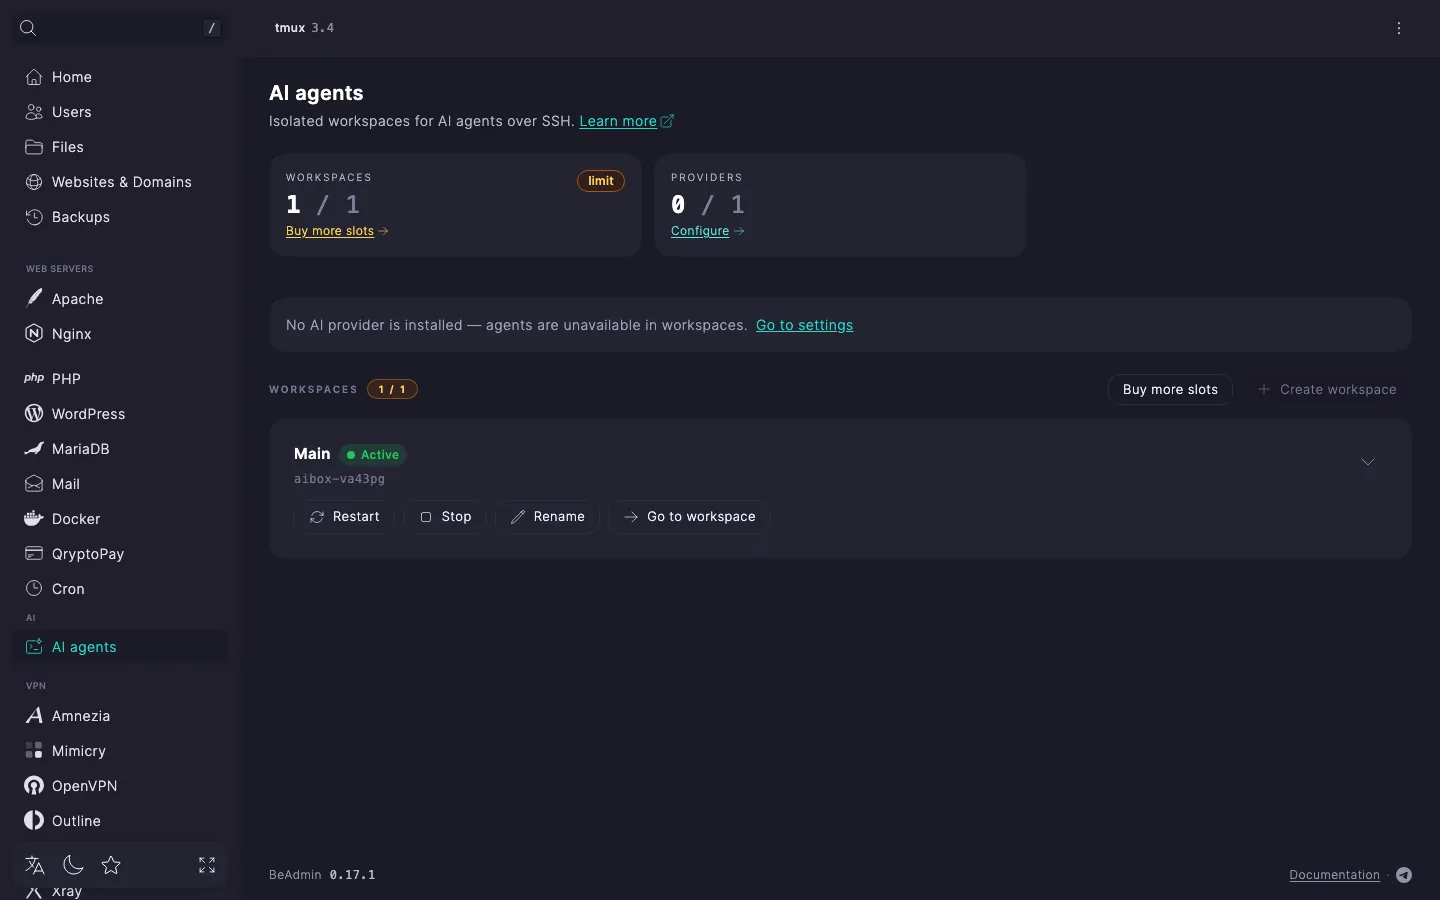
When the installation finishes, the panel opens the workspace list. The installation itself creates and starts the first workspace, Main. To add more workspaces, you need to buy more slots — see the article "AI agents. Workspaces and access".
ℹ️ Installing again after removing the module
If you removed the module without selecting Delete workspace files and then installed it again, the panel restores the saved workspaces together with their files and SSH keys. It does not create a new workspace.
Installing Claude Code
The AI agent is installed separately from the module; you can pick one or several providers to your taste. Until one is installed, you cannot run agents in a workspace.
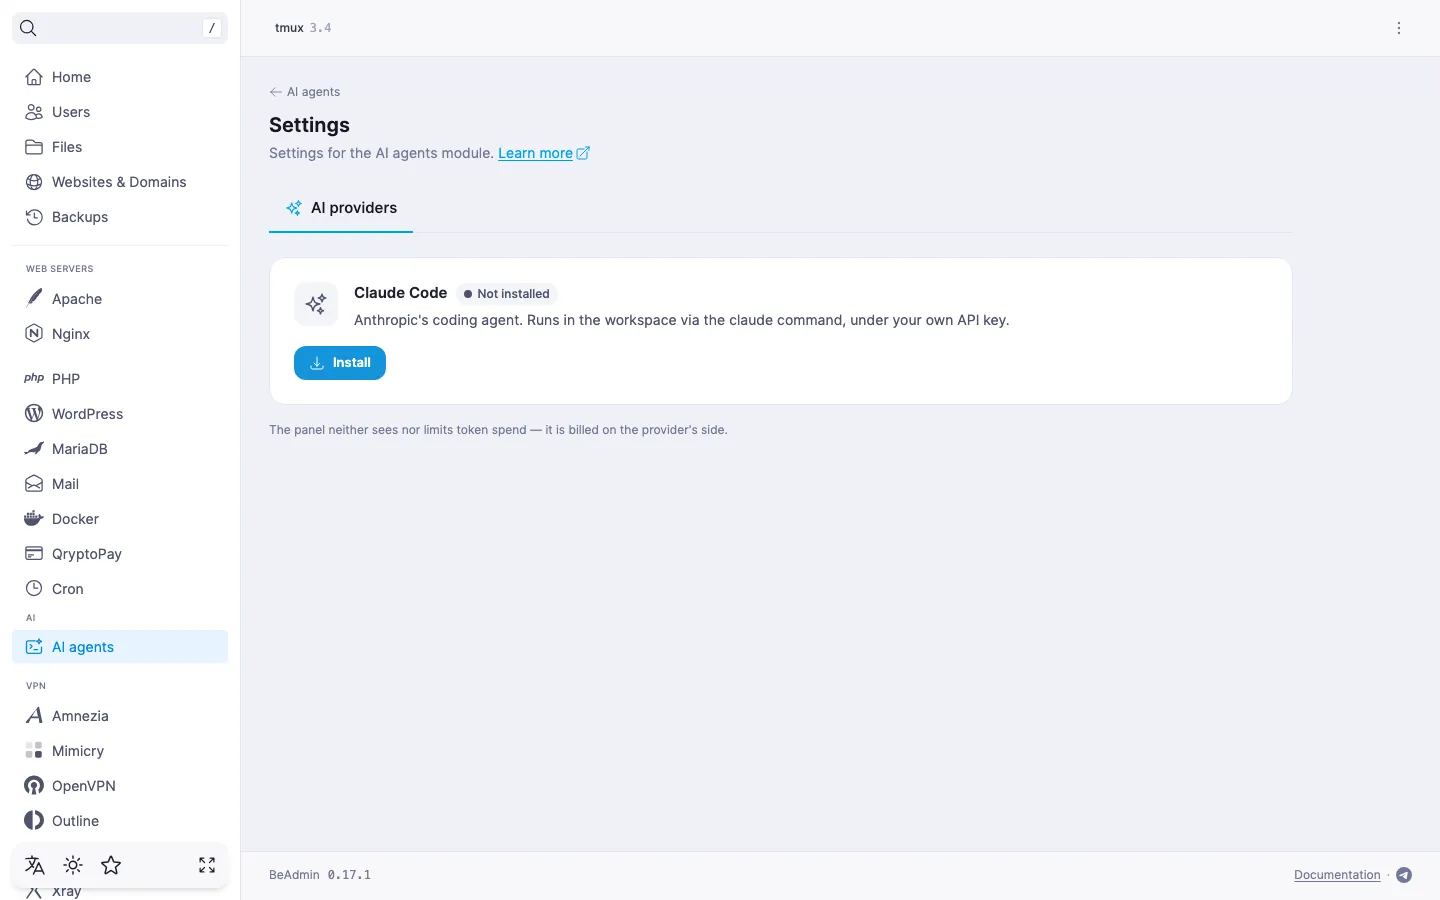
- To install, open the settings from the three-dot menu in the page header — the Module settings item.
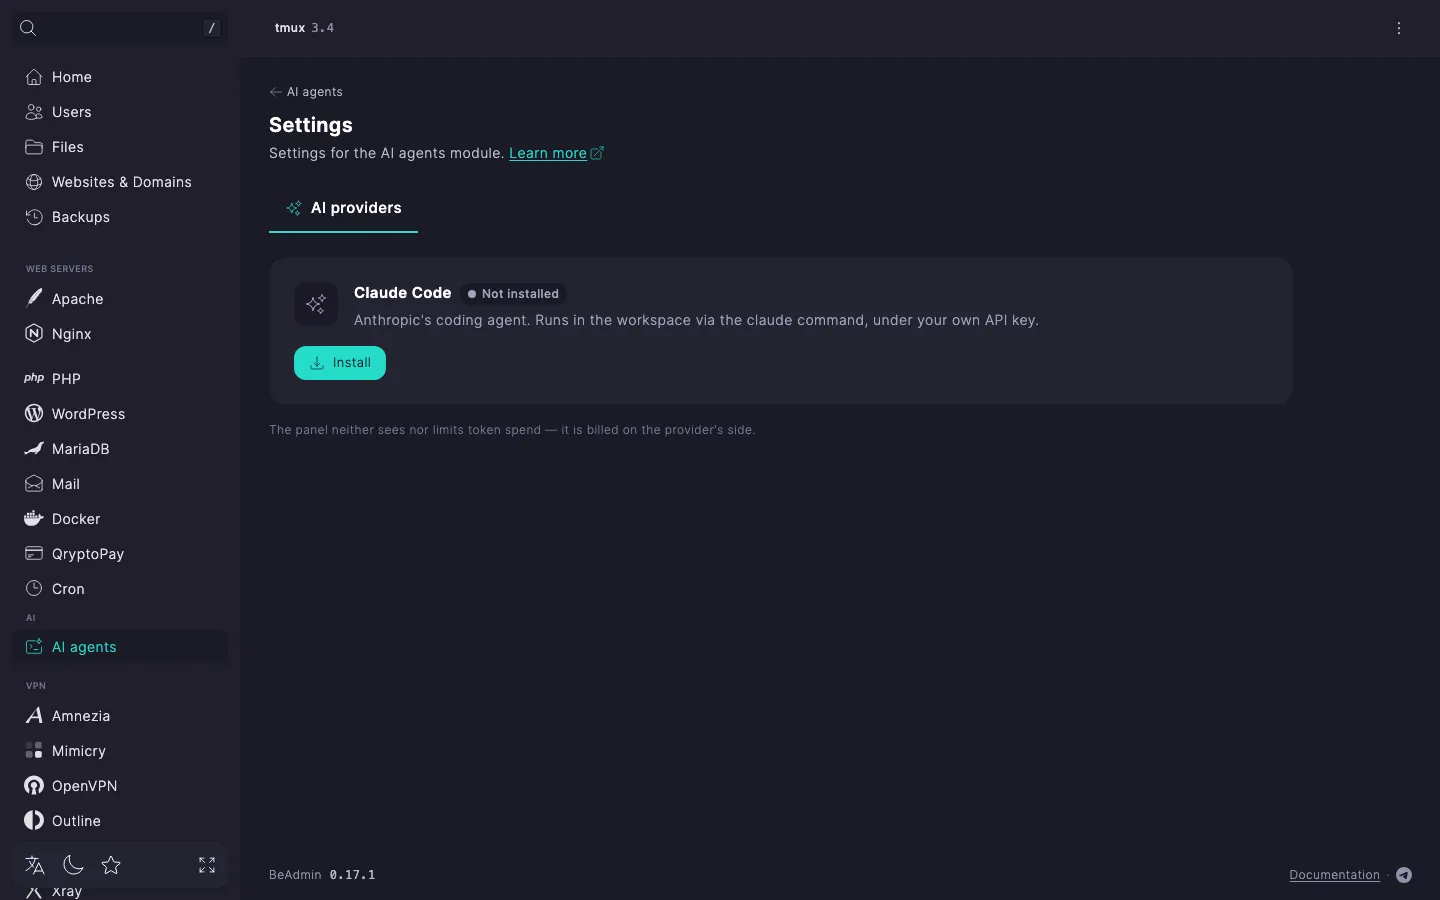
- On the AI providers tab, find the Claude Code card and click Install.
Claude Code is installed from the provider's signed repository and usually takes a couple of minutes. When the status changes to Installed, the card shows the agent version and the key state.
The shared API key
The agent runs under your API key. The key you set in the module settings is called shared: every workspace that has no key of its own uses it. The first workspace has no key of its own, so the shared one is what it uses.
- On the Claude Code card, click Add key.
- In the Add API key dialog, paste the key into the Key field and click Save.
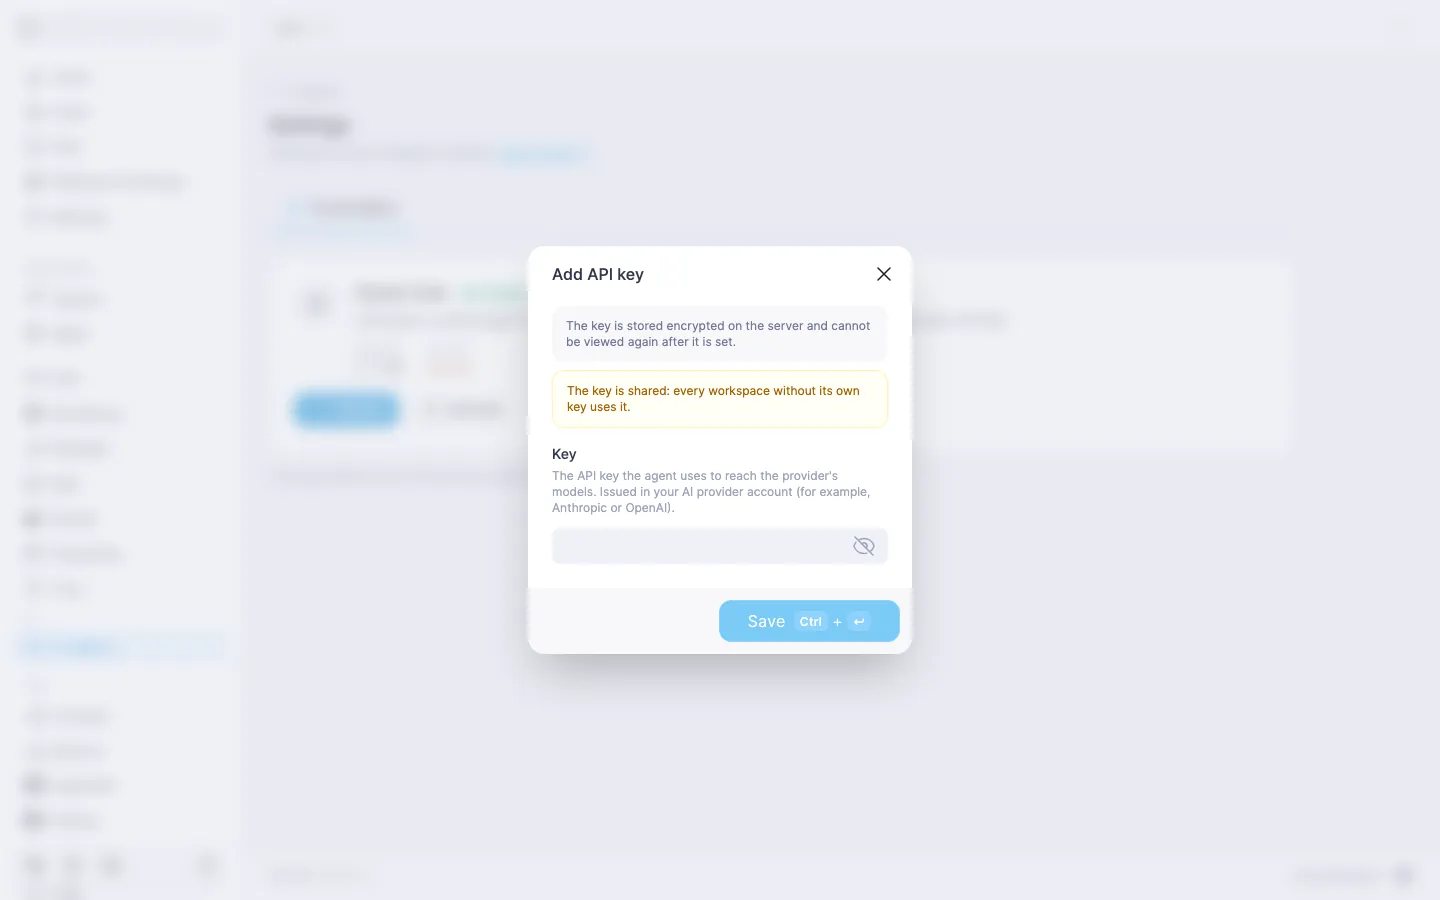
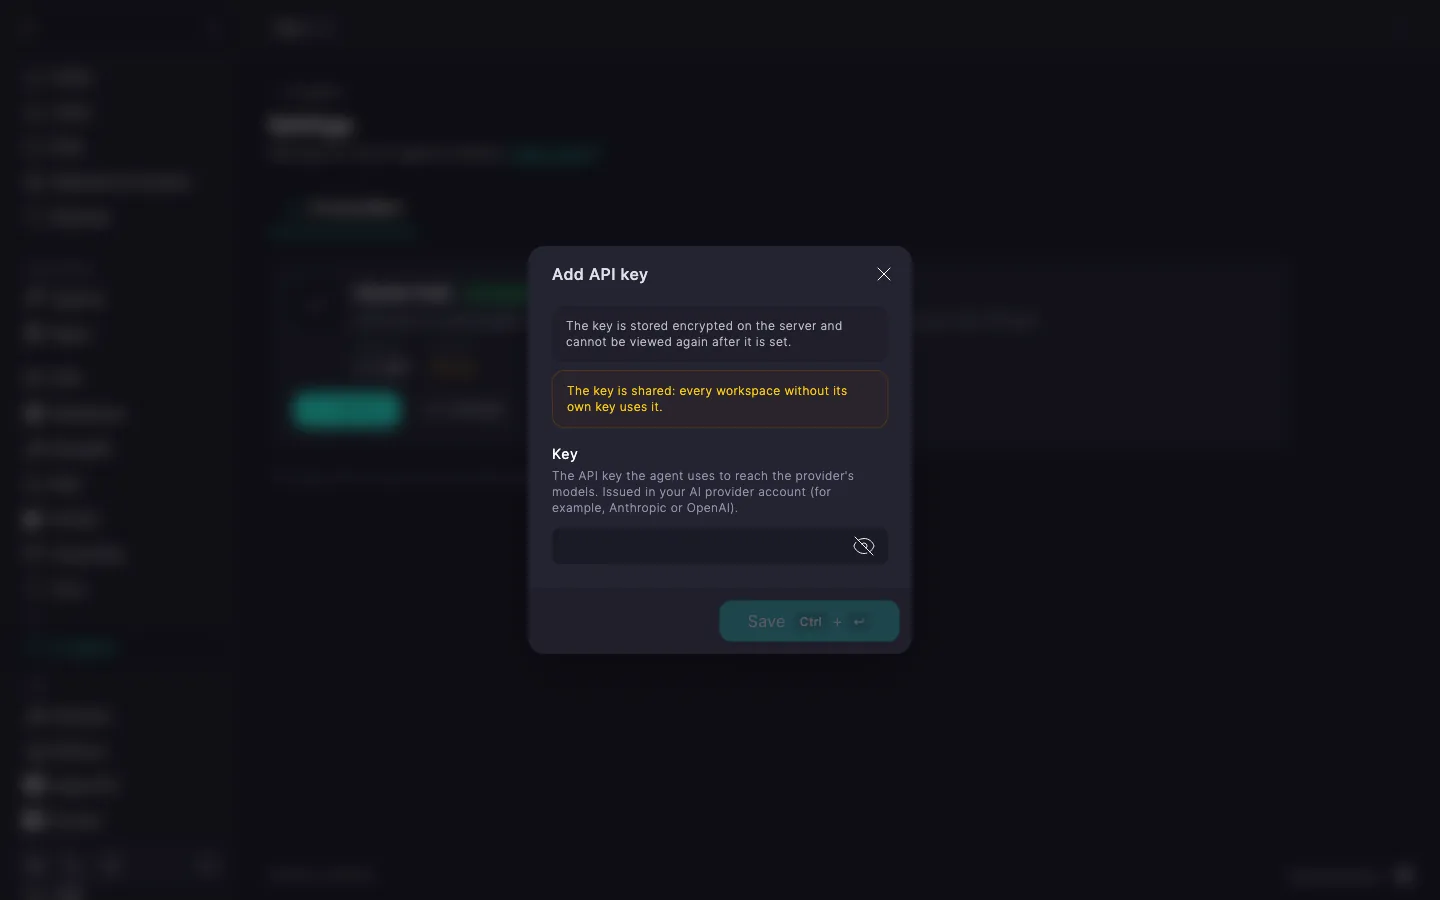
After saving, the key cannot be viewed: it is stored encrypted on the server. In the API key row of the card the value Set appears, and the Add key button turns into Replace key.
How the shared key differs from a workspace key and where to get an Anthropic key is covered in the article "AI agents. Provider API keys".
SSH key
You connect to a workspace over SSH using a key. You add the public key to the workspace page in the panel, while the private key stays on your computer.
From here on we assume you have at least one SSH key on your computer. If you don't, create one by following How to connect to a server via SSH.
Print the contents of the public key file and copy it in full. The public key sits next to the private one and ends in .pub: ~/.ssh/id_ed25519.pub for an ed25519 key, or ~/.ssh/id_rsa.pub for the RSA key that the SSH article creates.
cat ~/.ssh/id_ed25519.pubcat ~/.ssh/id_rsa.pub‼️ Do not enter a private key in the panel
Only the public key is added to the panel — the file with the .pub extension. Never share the private key — the paired file without .pub — and don't paste it anywhere: it must stay on your computer only.
- In the AI agents section, open the Main workspace page: click Go to workspace or the workspace card itself.
- In the SSH keys section, click Add key.
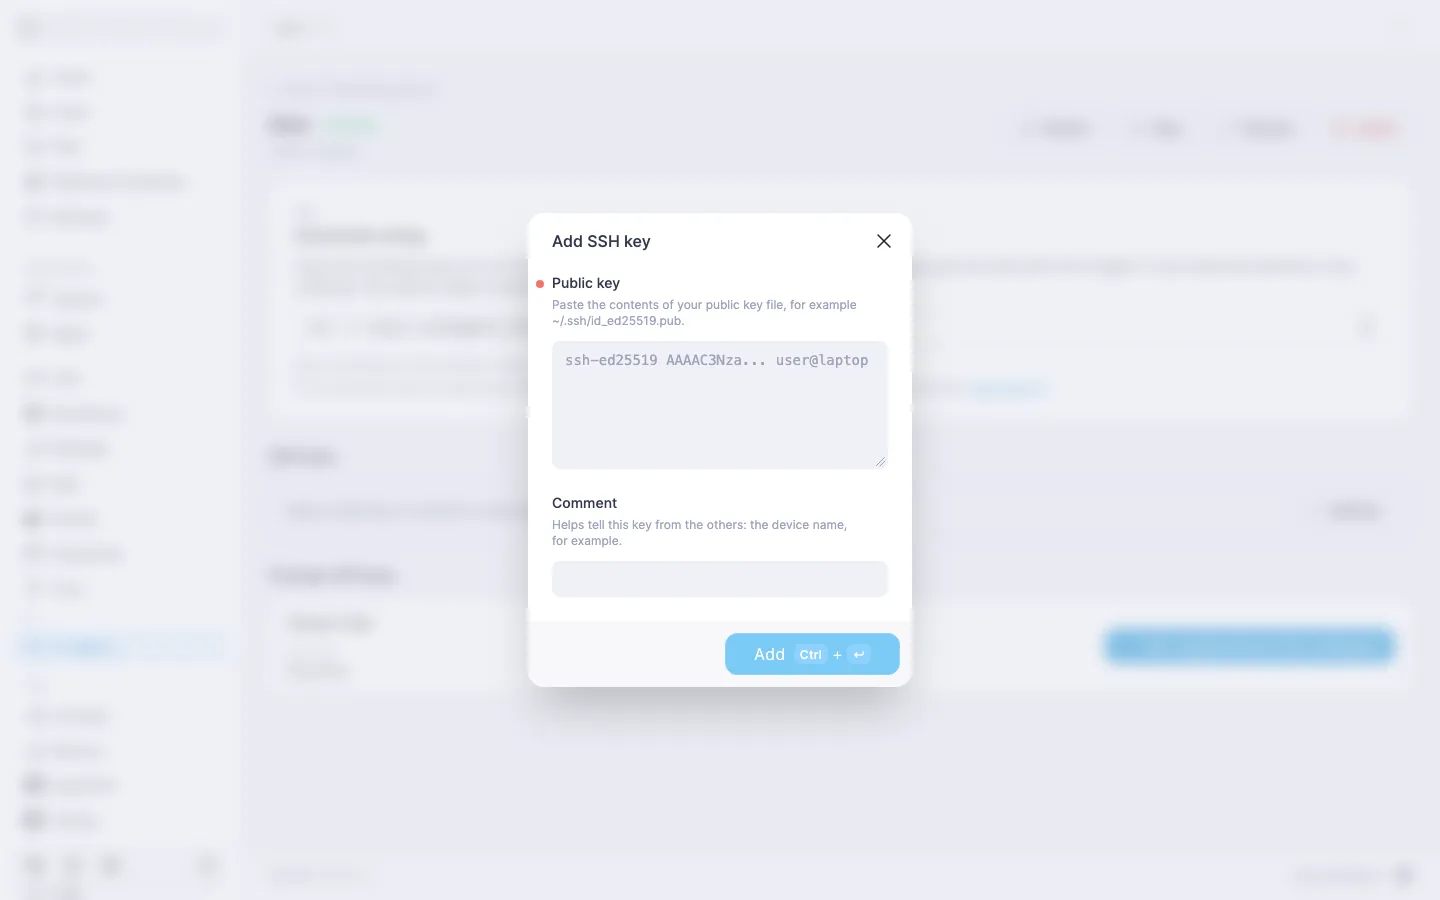
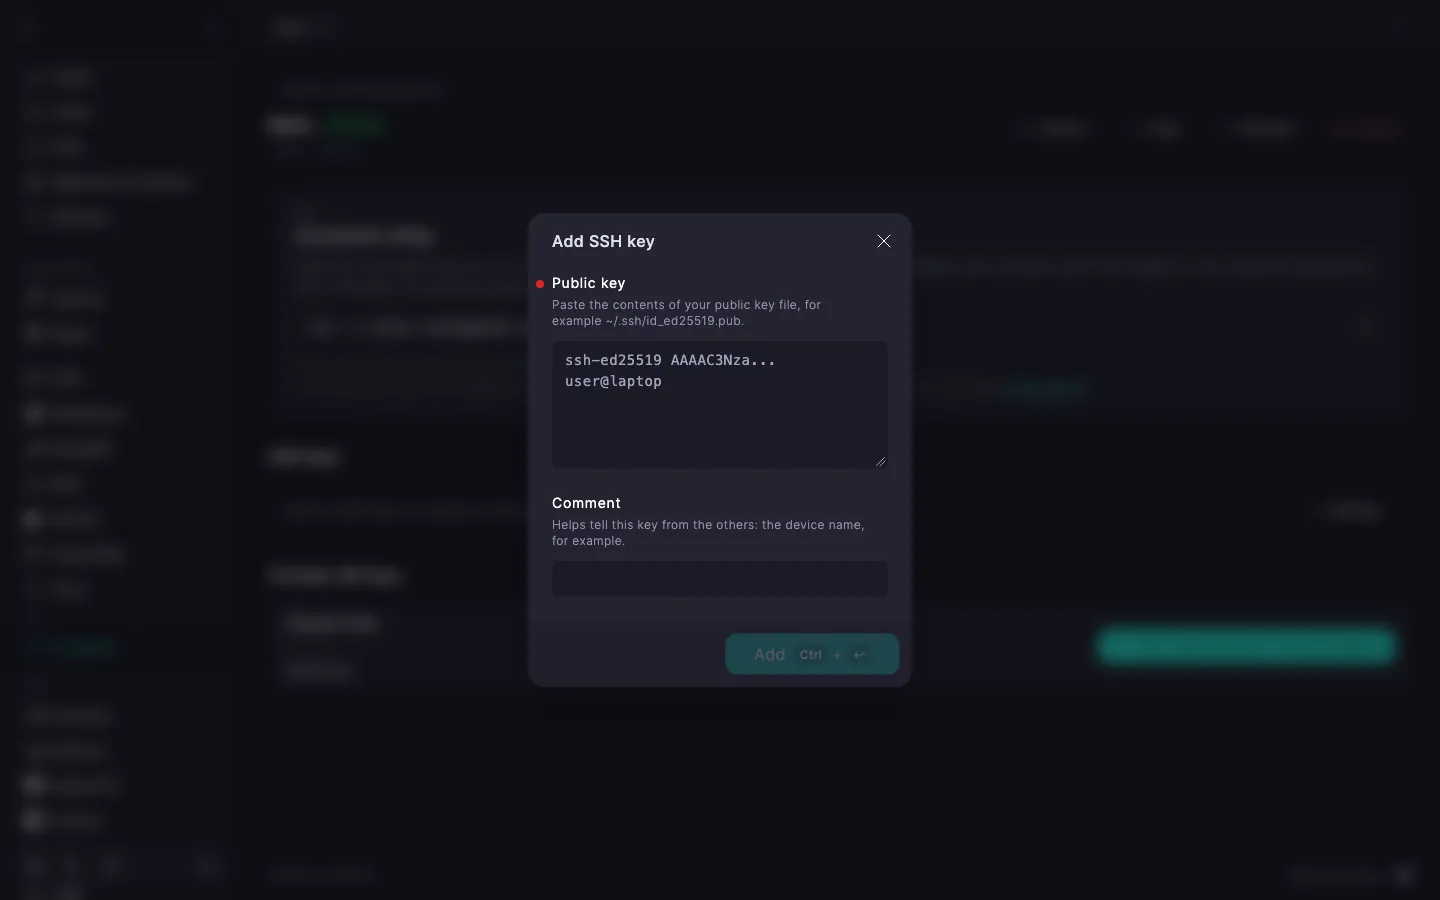
- In the Add SSH key dialog, paste the public key into the Public key field. In the Comment field you can enter, for example, the device name — it makes the key easier to tell apart from others.
- Click Add. If the key was pasted incomplete, the notification "Failed to parse the key, check that it was copied in full" appears.
Connecting to the workspace
In the Connection string card on the workspace page you will see a command like this:
ssh -t aibox-4kq7m2@192.168.1.100 beadmin-aibox-attachHere aibox-4kq7m2 is the workspace's system user, and after @ comes the address you used to open the panel.
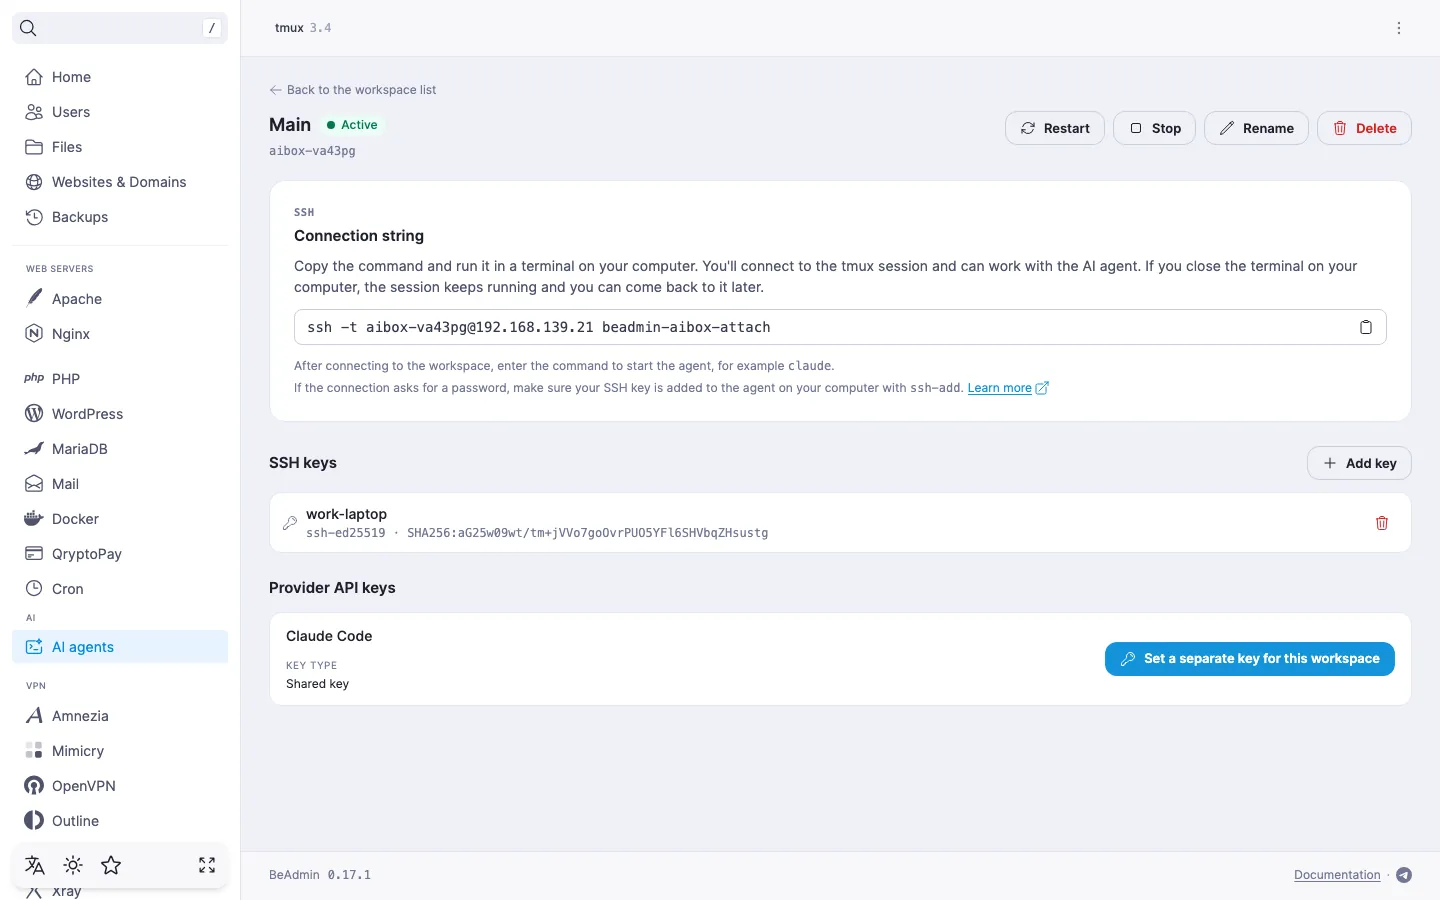
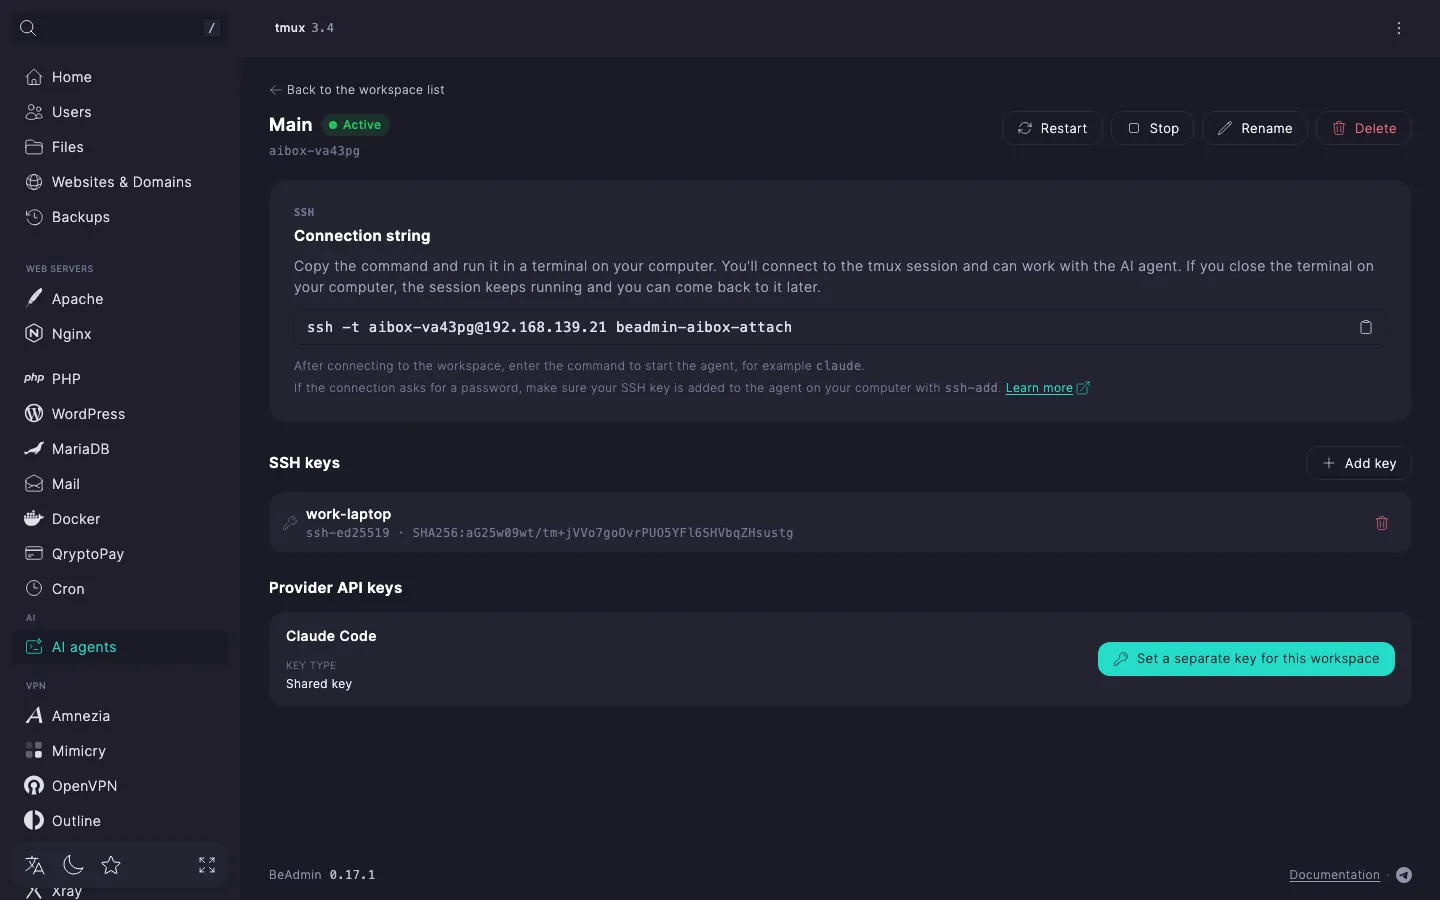
- Click the copy icon to the right of the command.
- Open a terminal on your computer, paste the command, and press Enter. On the first connection SSH asks whether to trust the server — type
yes. - You land in the tmux session named
dev. It opens in theworkspacedirectory of your workspace.
The command attaches to the already running session, or creates a new one if there is none. While the workspace is stopped, the panel shows the hint "The workspace is stopped. Start it to connect" instead of the command: click Start in the page header.
If SSH asks for a password
Key login works when SSH finds the private key that pairs with the public key added to the panel. If a password prompt appears instead of a login, the key is not in a standard file (~/.ssh/id_ed25519 or ~/.ssh/id_rsa) and has not been added to the SSH agent on your computer. Add it to the agent with ssh-add:
ssh-add ~/.ssh/key_file_nameOr pass the key file with the -i flag:
ssh -i ~/.ssh/key_file_name -t aibox-4kq7m2@192.168.1.100 beadmin-aibox-attachStarting the agent
In the tmux session, run the command:
claudeClaude Code starts. It runs under the API key you added in the panel.
Returning to the session
To leave without interrupting the agent, close the terminal or detach from the session: press Ctrl+B, then D. The session stays on the server together with the tasks running in it. To come back, run the same connection command.
⚠️ The exit command ends the session
If you run exit in the session's shell, the session closes together with everything running in it, including the agent. The workspace stays active, and the next connection opens a new empty session.
What's next
- "AI agents. Workspaces and access" — creating, renaming, starting, and stopping workspaces, workspace SSH keys, limits, and buying slots.
- "AI agents. Provider API keys" — the shared key and the workspace key, what happens when either is deleted, and where to get a key.
- "AI agents. Module management" — module settings, installing and removing a provider, updating, reinstalling, and removing the module.