Proven over 15 years in hosting. Your VPS with BeAdmin is ready to go out of the box.
 Germany
 Netherlands
 Sweden
 Switzerland
 Spain
Spain USA
USA
The Hysteria module in the BeAdmin panel runs your own VPN on the server using the Hysteria2 protocol. It works over UDP on top of QUIC — the transport behind HTTP/3. It keeps its speed on connections with packet loss, where TCP-based protocols slow down, and to an outside observer the server looks like an ordinary HTTP/3 site. A good fit for unstable mobile connections and long routes.
This article walks through the minimum scenario: install the module, create the first user, and connect a client device. How the protocol works is covered in Hysteria. How the service works.
Your own VPN server pays off compared with commercial services: bandwidth is not split between hundreds of clients. One Hysteria user is free — install the module and see how it performs on your network.
⚠️ ISP restrictions
Traffic encryption makes a VPN a reliable way to protect a connection, but in some countries and regions internet providers actively interfere with VPN protocols. Because of this, full availability of the service cannot be guaranteed — regardless of the connection type. If one protocol does not work for you, try another VPN module available in the panel. If none of them work on your network, contact support and we will issue a refund for the license.
You'll need a server with BeAdmin — our partners ship a ready-to-use VPS the moment you order.
Proven over 15 years in hosting. Your VPS with BeAdmin is ready to go out of the box.
GermanyNetherlandsSwedenSwitzerlandSpainUSAEuropean reliability made simple. Launch BeAdmin with your VPS in just one click.
GermanyNetherlandsSweden Estonia
 RomaniaSwitzerlandSpain
'%3e%3cpath%20fill='%2300008b'%20d='M0%200h384v256H0z'/%3e%3cpath%20stroke='%23fff'%20stroke-width='42'%20d='m1.914-.001%20382.086%20256m-382.086%200L384-.001'/%3e%3cpath%20stroke='red'%20stroke-width='14'%20d='M5.437%200%20192%20122M378.563%200%20192%20122M5.437%20256%20192%20134m186.563%20122L192%20134'/%3e%3cpath%20fill='%23fff'%20d='M157.787-.001h68.359v256h-68.359z'/%3e%3cpath%20fill='%23fff'%20d='M-.067%2093.999H384v68H-.067z'/%3e%3cpath%20fill='red'%20d='M384%20107.789H211.862V-.001h-39.724l.001%20107.79H0v40.419h172.139v107.79h39.723v-107.79H384z'/%3e%3c/g%3e%3c/svg%3e) United KingdomUSA
United KingdomUSAIn the side menu open VPN → Hysteria and click Install — the module installs right away, without a dialog. Hysteria accepts connections on UDP port 443 — masking as HTTP/3 works best there — if the port is free: neither Nginx nor Apache is installed and no other BeAdmin module holds it. If 443 is taken, the panel picks 2053. The panel creates the certificate and the service keys during the install.
If your hosting provider has its own network firewall for servers, open the chosen UDP port in it — otherwise connections won't go through.
To set the port yourself, click the gear button next to Install (tooltip Custom installation) — the Installation settings dialog opens with a Port field. It already contains 443: keep it or enter another number and click Launch. If UDP port 443 is taken by another BeAdmin module, a conflict warning appears under the field right away: you can still install, but the service won't start until the port is freed. The port can be changed later too — see Hysteria. Managing the module.
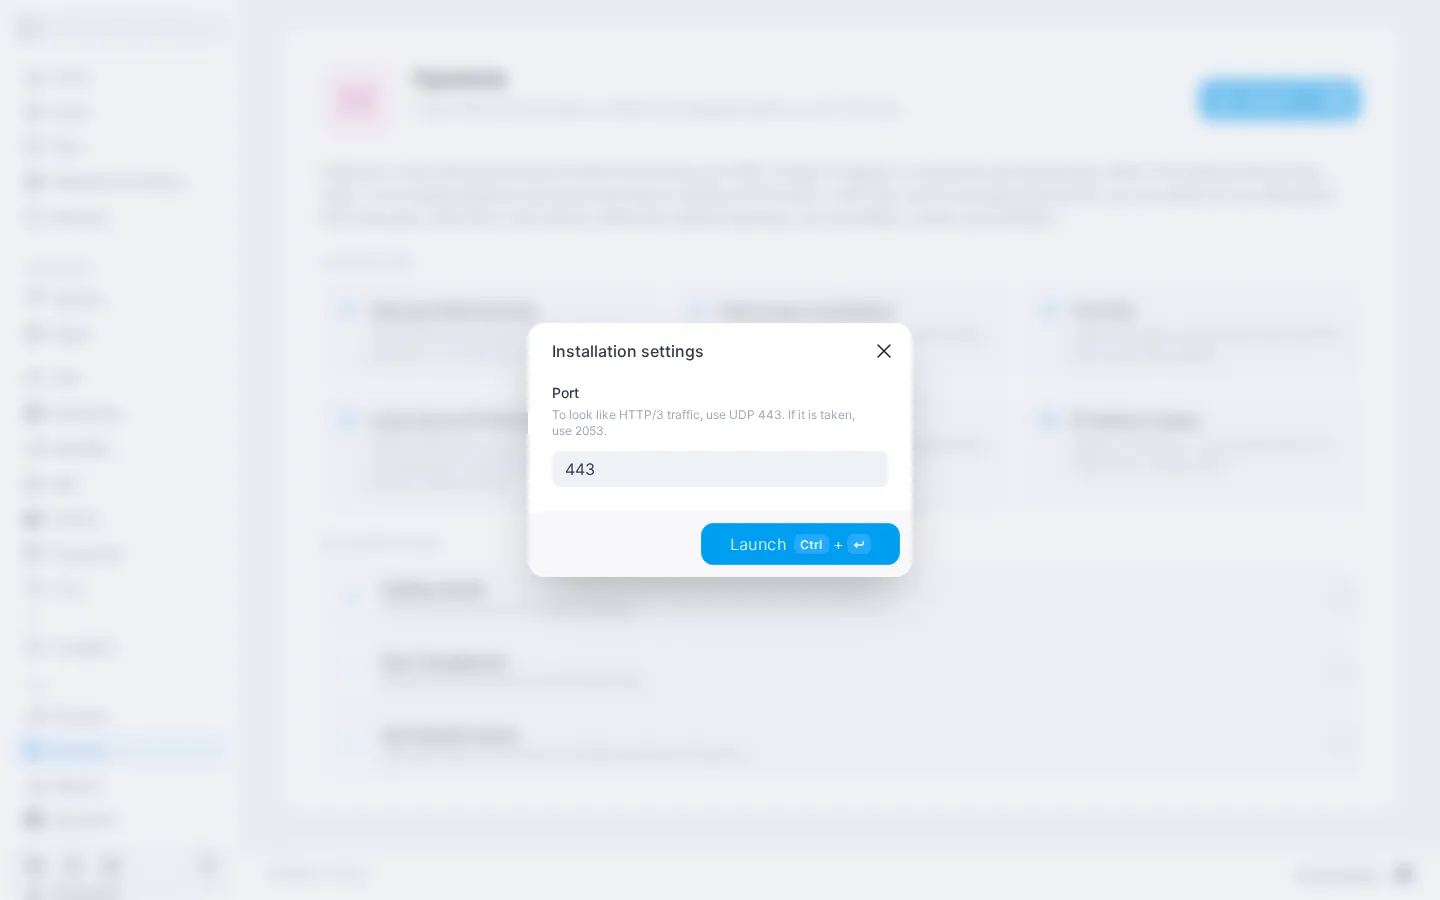
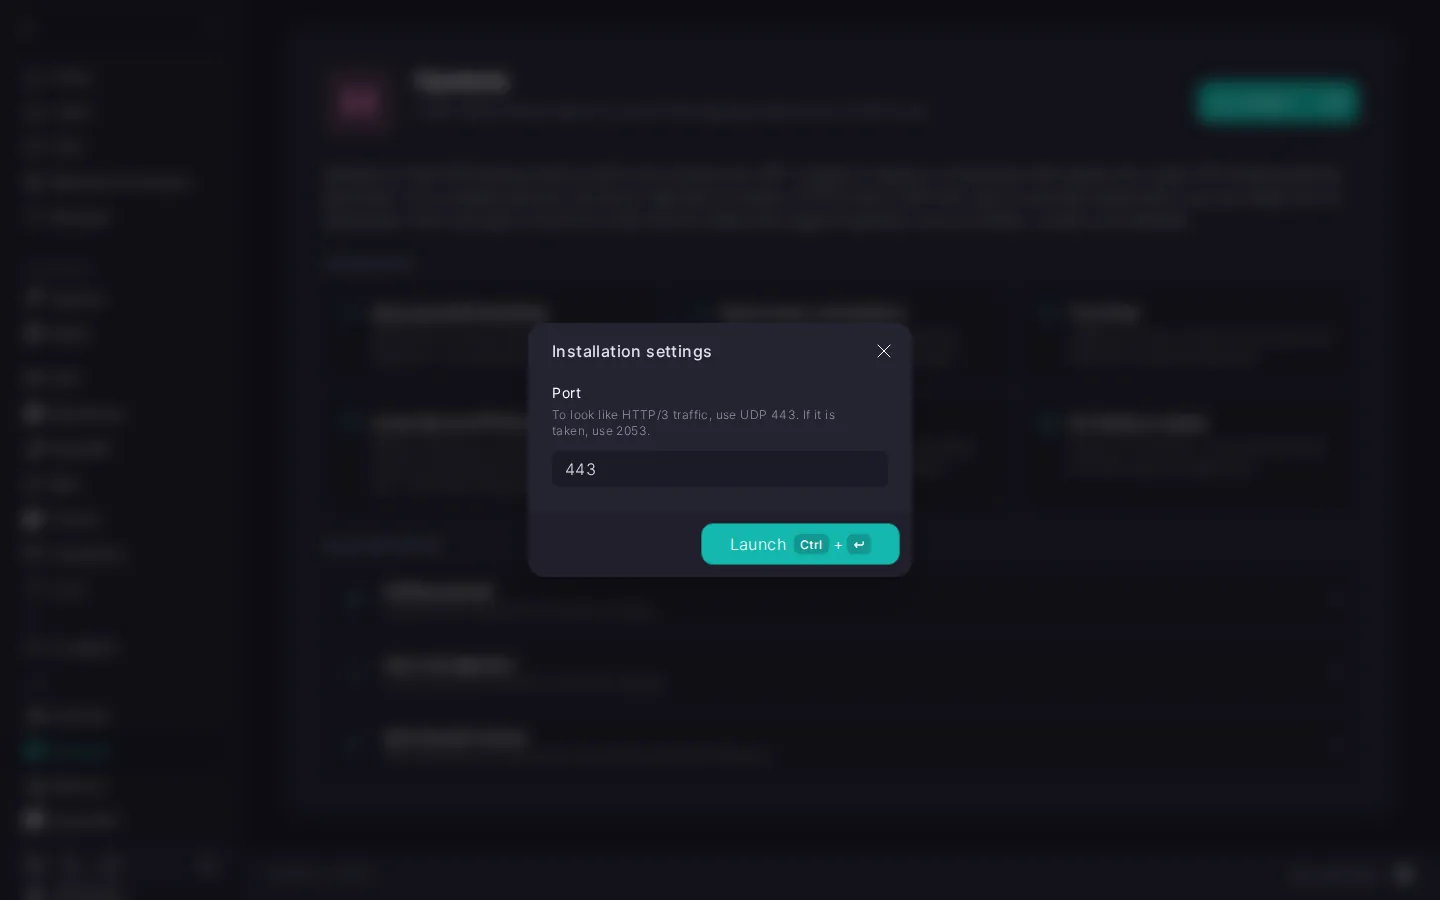
When installation finishes, the panel takes you straight to the Users page — the module's main screen. Installation usually takes a few minutes; you can follow the progress via the Log button on the install card.
The panel decides which certificate the server gets at the first install: if it already has a Let's Encrypt certificate for the server's IP address, Hysteria uses it; otherwise a self-signed one is created. You don't have to do anything for devices to connect, and the chosen mode is shown in the module settings — more in Hysteria. Managing the module.
The page header exposes the core module actions — start, stop, and restart. The three-dot menu groups the rest: Logs, Module settings, update check and run, reinstall, and uninstall.
To get started, create the first user.
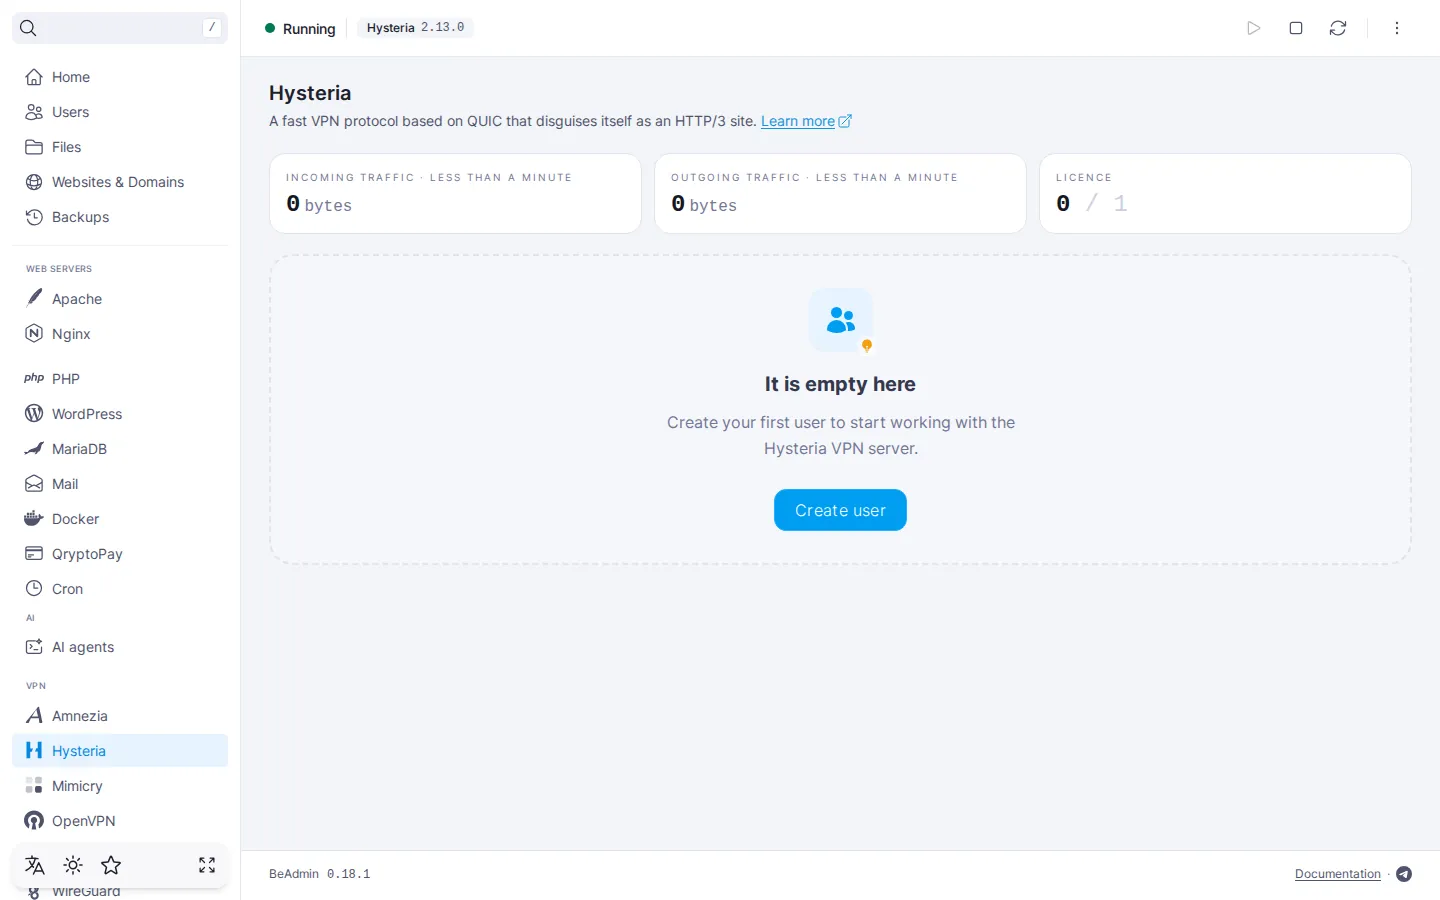
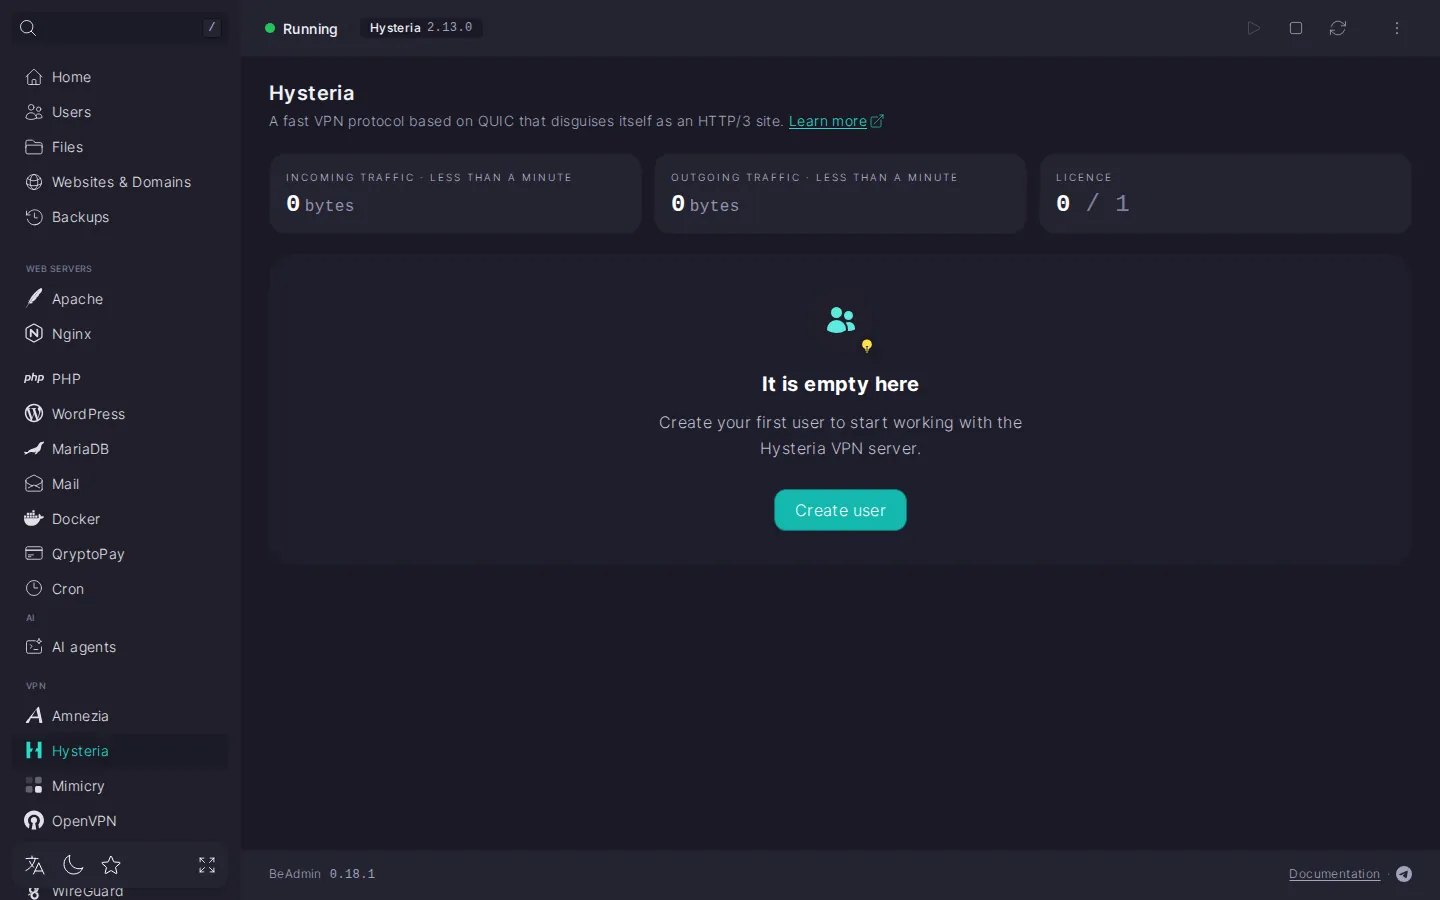
A Hysteria user is a separate account with its own identifier, password, and connection link. We recommend creating a separate user per device that will connect: that way you can revoke access for a single device without touching the others.
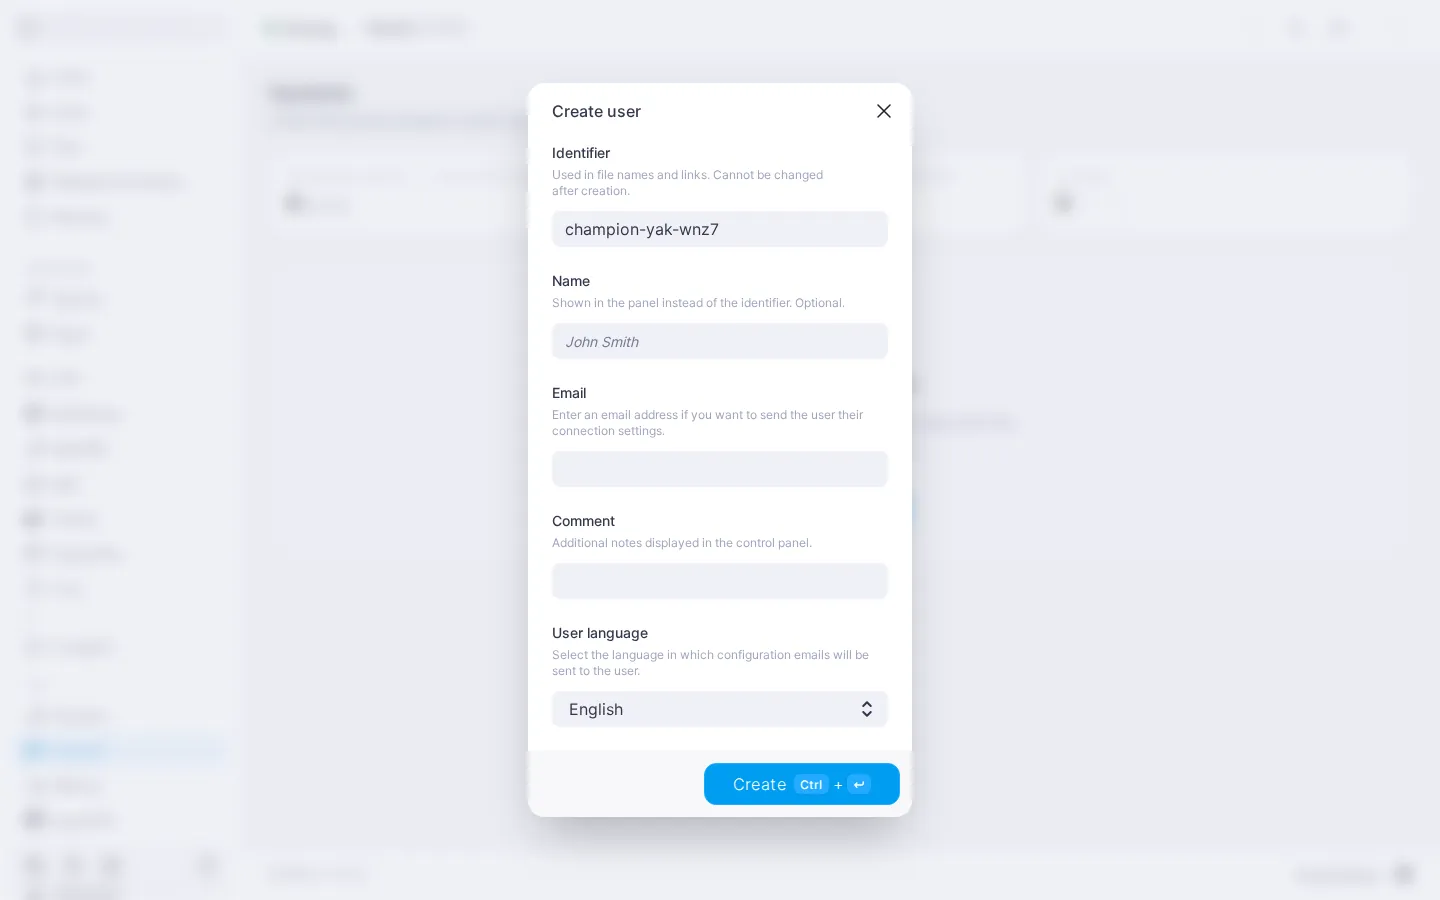
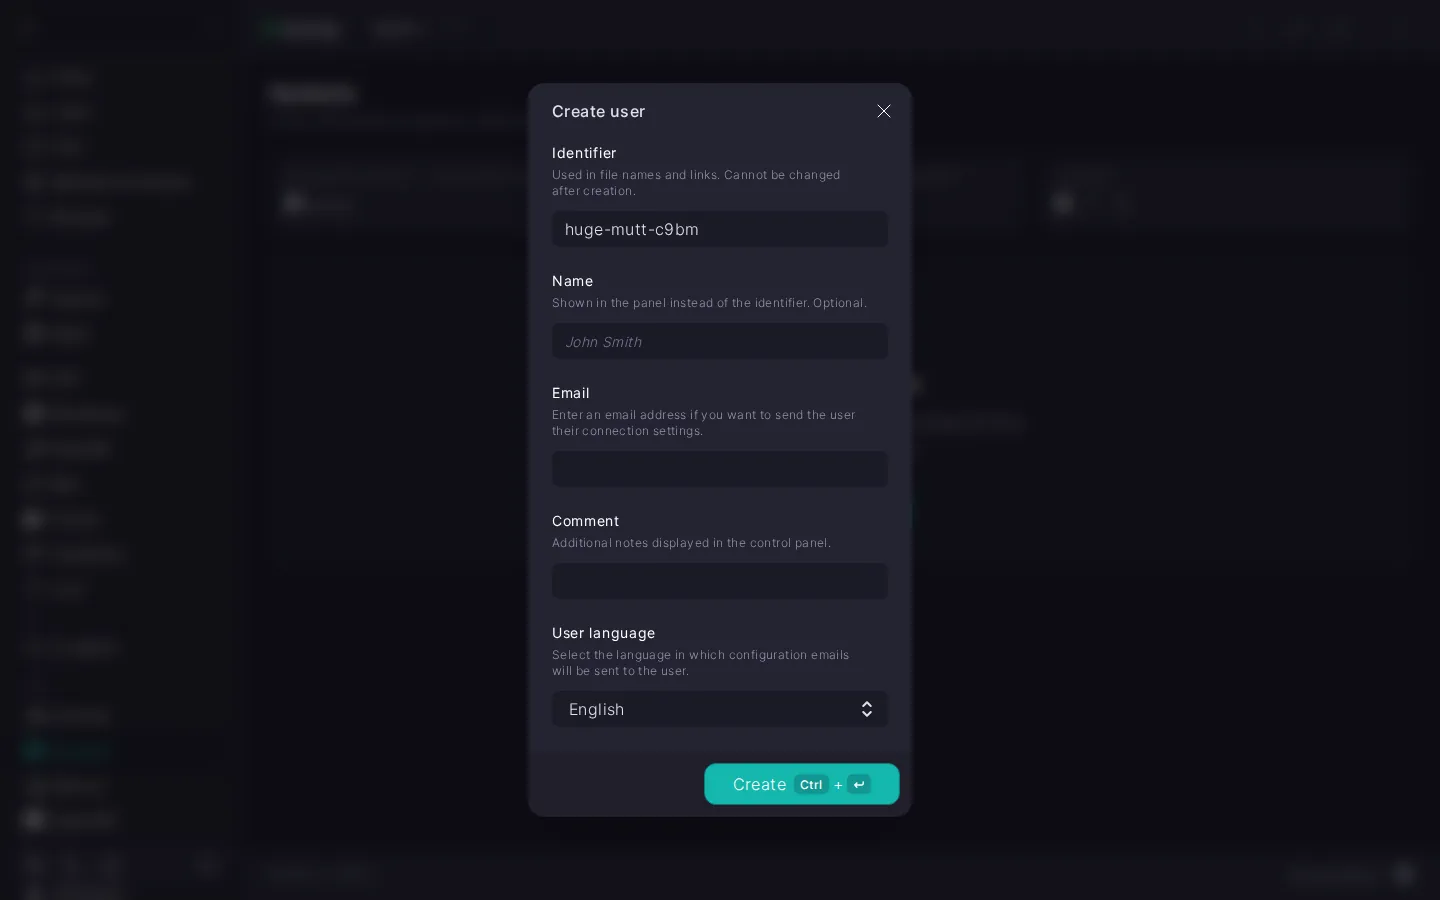
The user is created enabled and appears in the list; the connection link and QR code are available right away. If you enter an identifier that is already taken, an error is highlighted under the field and the form can't be saved.
ℹ️ Limit on the free plan
The free licence allows one Hysteria user — enough to try the service out and see whether it fits. When you need more, purchase additional slots. Details — in Hysteria. Managing users.
Hysteria uses links of the form hysteria2://… — a compact string with connection parameters: the server address, the port, and the user's password. Any app that supports Hysteria2 accepts it via QR code scan or paste from the clipboard. A configuration file is not used.
hysteria2://… link as the Link button.hysteria2://… link to the clipboard. Useful when the device you're setting up the VPN on is the same one the panel is open on: you paste the link into the app without a camera.To confirm the VPN is working, open any IP-check page in your browser, for example myip.com. If everything is set up right, it will show your server's country.
If SMTP is configured in the panel, you can send the connection link to the user by email — useful when the device isn't on hand.
In the expanded user row click Send to email. An email with the link, the QR code, and a list of suitable apps goes to the address set when the user was created. If there is no address, the button is inactive — add one in the Edit user dialog.
ℹ️ If SMTP is not configured
The Send to email button stays inactive, and the expanded row shows the note "Outgoing email from this server is not configured." with a Set up link. Details — in How to set up an SMTP relay for sending emails.